It’s Christmas gift season and this stencil painted Christmas towel & trivet are the perfect gift for friends, neighbors and teachers! This post contains affiliate links.

I’m excited to take you step-by-step through this tutorial on how to make a stencil painted Christmas tea towel. It’s super easy and can be done in less than an hour. With the help of my Cricut Explore Air 2 I can create my own stencils instead of purchasing designs I’m not in love with at the craft store. You can see my full review of the new Cricut Explore Air 2.

Step 1: Pick your image in the Cricut design space and measure your tea towel to figure out how large you want your image to be. I purchased my towel at Ikea (they are less than$1 and have the cute red lines!). In design space scale your image to the size that you want and then click ‘Go’. I chose a fun Christmas image that is available in the design space.

Step 2: Cut your image onto stencil vinyl. When you get to the screen pictured below the new Cricut Air 2 has an option for “fast mode” which you can use with vinyl, heat transfer and card stock. It’s awesome! It really is 2x’s faster than regular mode.
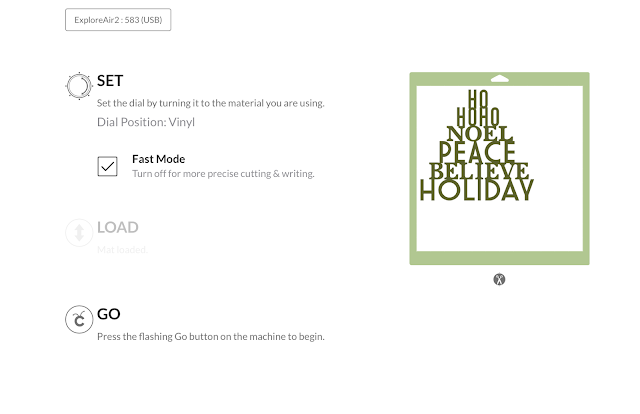
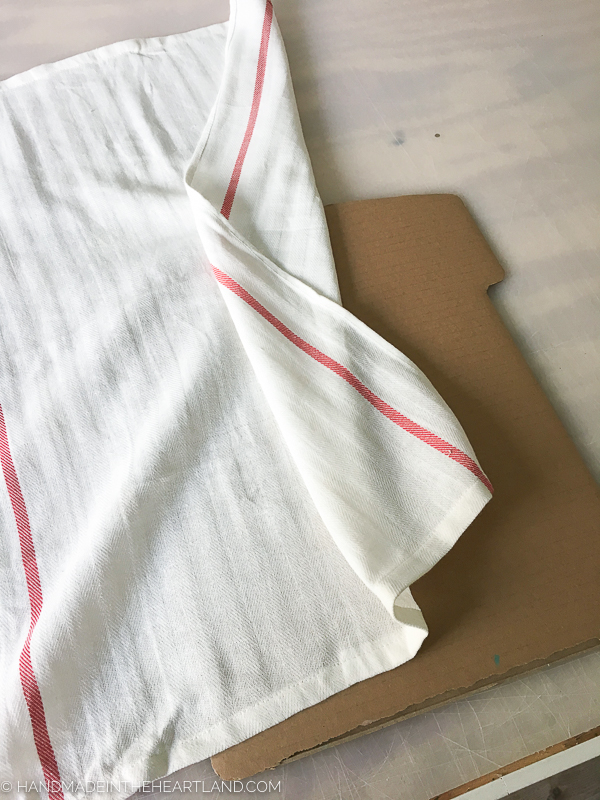
Step 3: Apply your stencil vinyl to the towel using the transfer tape. Also a tip, place a piece of cardboard under the towel so that when the paint bleeds through it doesn’t get on your surface!
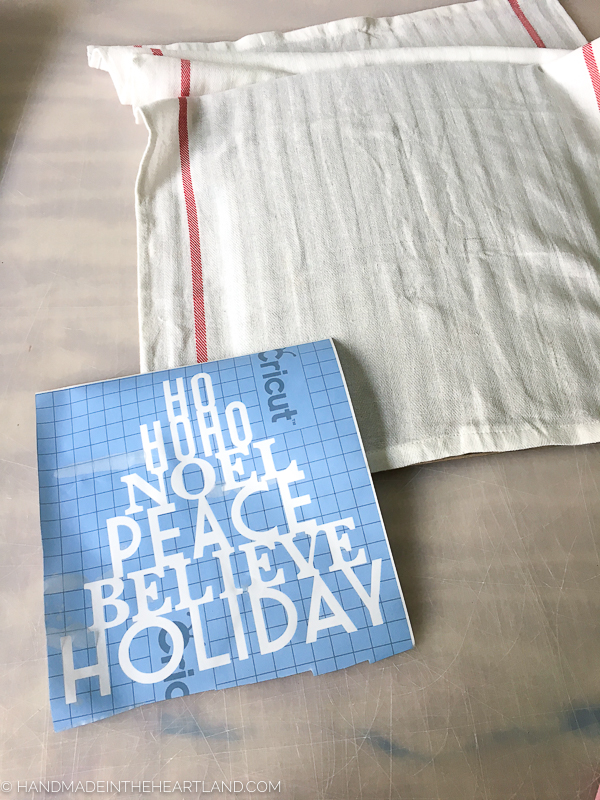
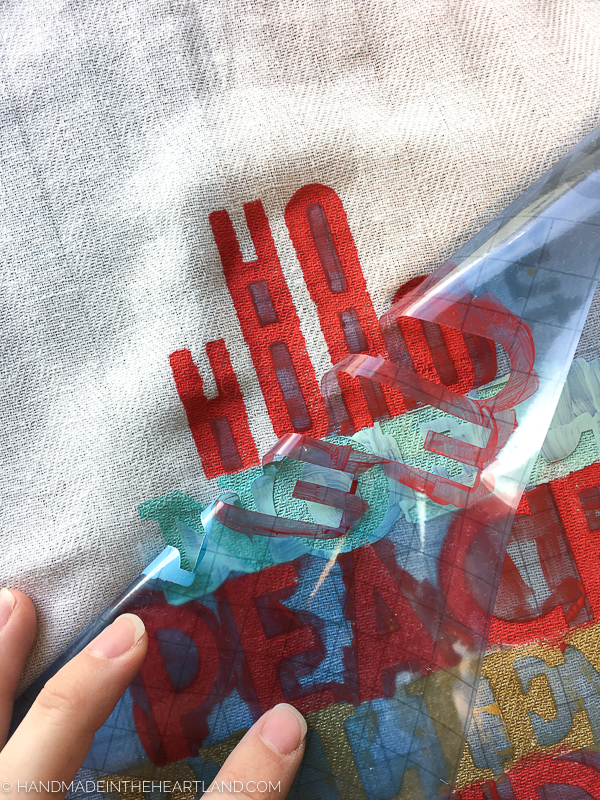
The picture below shows me peeling the transfer tape off the stencil after I’ve already placed the stencil onto the towel. I love how Cricut stencil vinyl is adhesive so it doesn’t move while your painting!

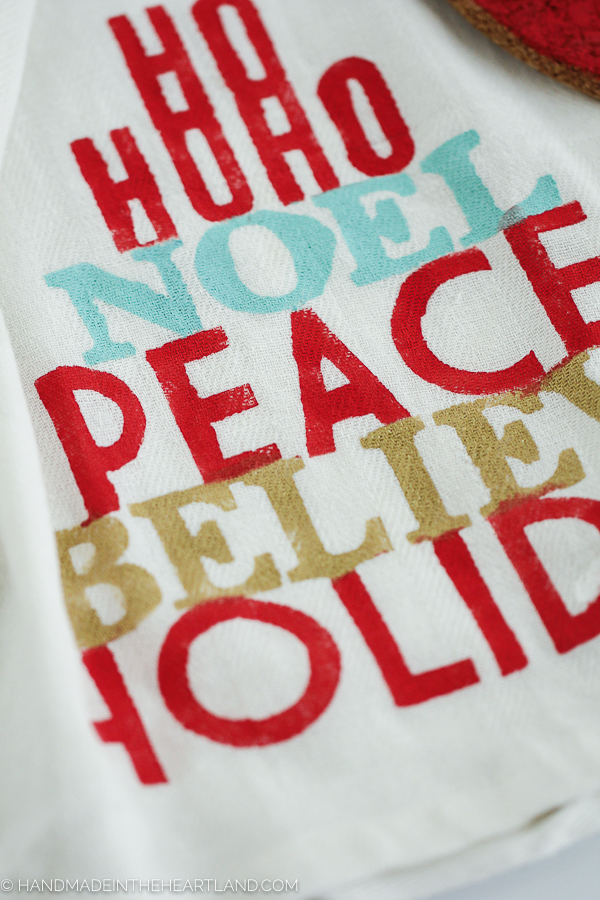
Step 4: Paint inside the stencil! For this stencil I decided to do different lines of text different colors. I purchased all my paint at the craft store- you can use regular craft paint if you buy a tube of textile medium to mix in with it, I did that for the gold.
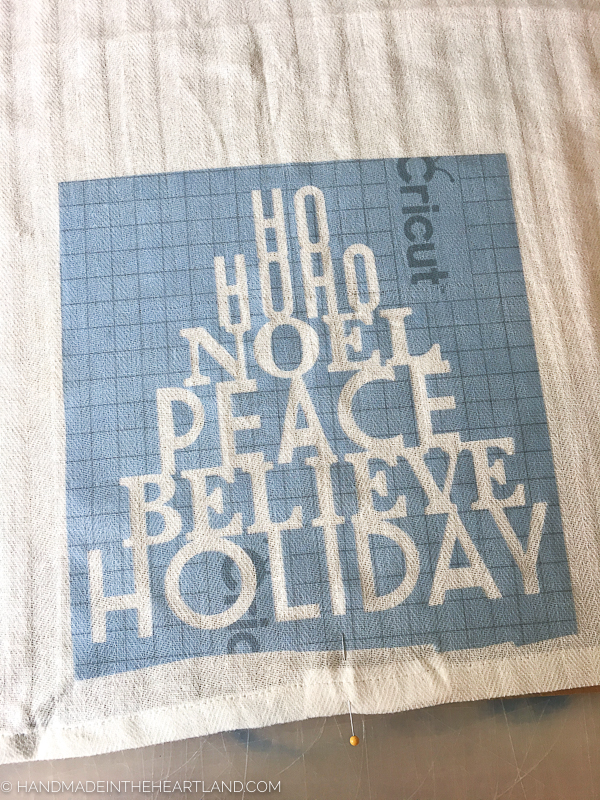
Step 5: Let your paint dry before you peel your stencil off. This is the hardest part for me! I always want to see it right after I paint it. 😉 Step away! Let it dry and then go back and remove your stencil. Viola, you are done!
You can always keep it for yourself to use in your home this Christmas season or give it as a fun gift!
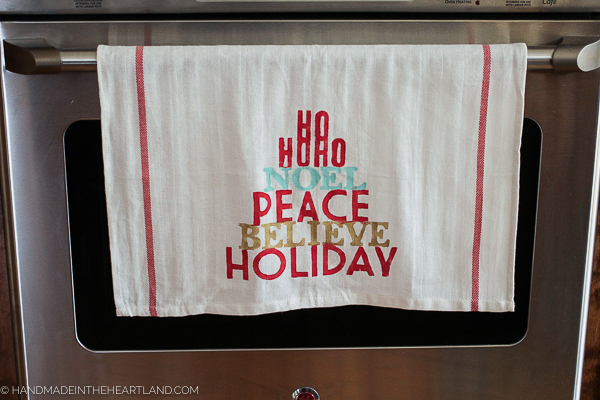
This easy project is a great one to have kids help with. My 4 year old (who is a little OCD and not your typical 4 year old) loved helping me paint the stencil. So depending on your kid and their interest you can definitely do this with kids.

When I was at Ikea I picked up a random set of cork trivets, They were in a set of 3 I think. I decided to make a matching trivet to go with the kitchen towel to give as a gift. Seriously so easy. I just used painters tape and taped off a portion of the trivet and painted it, let it dry and did it again with the final two colors.
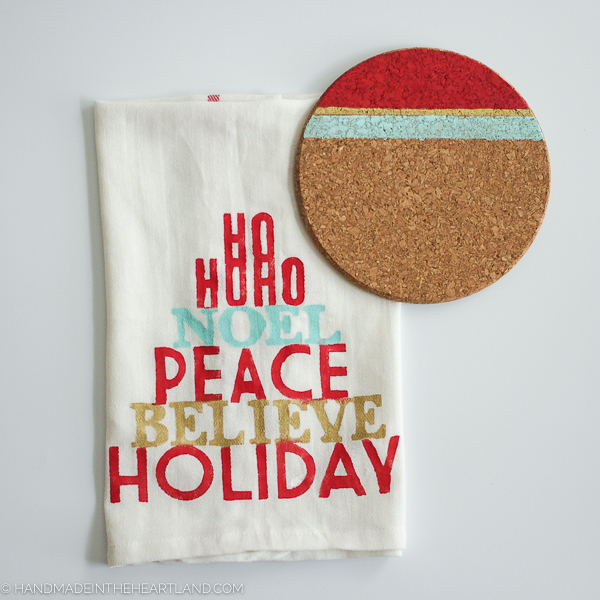
I think this set makes a perfect neighbor or teacher gift, you know those gifts that you deliver earlier in December. It’s something fun they can add to their home during the holiday season and think of you!

I much prefer a handmade gift to a store bought gift that you are just buying to buy something. In the photo below I tied them together with red grosgrain ribbon in the perfect little bundle.

If you make a stenciled towel please let me know! I love to see when you make things from the blog, it seriously makes my heart happy! 🙂 Share it with me in the comments or tag me on Instagram (@handmadeintheheartland) or facebook!
Are you making handmade gifts this year? I’d love to hear what you are making in the comments!

DIY Rustic Wood Christmas Sign | Handmade in the Heartland
Thursday 3rd of December 2020
[…] crisp lines with each letter. We use the stencil vinyl as a mask in this project but check out my stencil painted Christmas towel and trivet for how to use stencil vinyl as a […]
4 Layer Paper Cricut Christmas Card | Handmade in the Heartland
Tuesday 1st of December 2020
[…] using my Cricut Explore for Christmas crafting! Check out my wood painted Christmas sign and my stencil painted tea towel– both make great […]