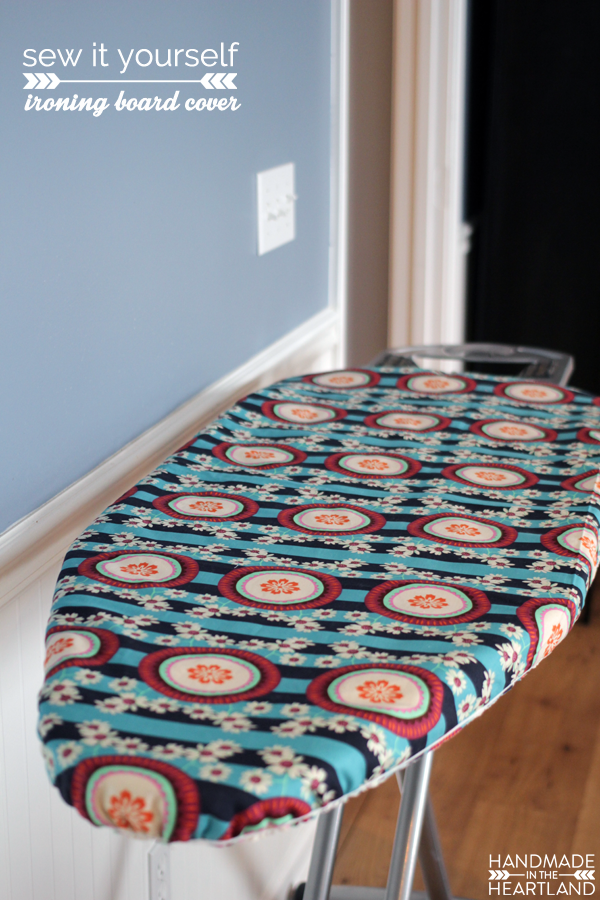
If you sew a lot then you probably have a haggard looking ironing board cover, mine was pretty bad and had been for a while. I’ve seen some adorable ironing board covers at home goods but the problem is that my ironing board is an extra large guy I got at costco a while ago, and I love it because it is bigger than normal but that also means I can’t run out and grab a new cover. I don’t know why I kept putting this project off, but it only took me 1 hour to make! Its so easy and now every time I look at my ironing board it makes me smile! 🙂
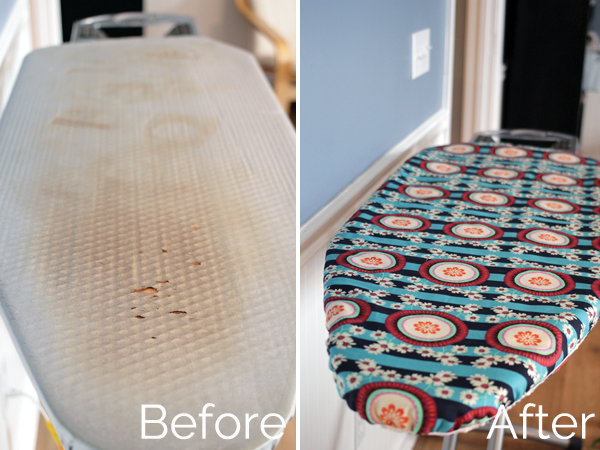
As you can see above it was pretty darn bad. That cover is actually the 2nd one for this ironing board- I replaced the first one that came with the board a few years ago and purchased this one online, it was definitely thinner and flimsier than I thought it would be when I ordered it and it didn’t last long. I’ve been ironing with a piece of fabric laid over the board for months and it feels so good to have a new fresh cover on this guy!
Ironing Board Cover
Supplies:
1 1/2 yards of 100% cotton fabric
55″ 1/4″ elastic
Taylors Chalk/ Wax Crayon
Directions:
1. The first thing to do is measure your ironing board. You can see in the photo below how I measured mine. You’ll want to cut a piece of fabric in a big rectangle with 2″ of extra on all sides. So for instance if you pretend the board is just a rectangle mine would have been 18″ x 49″ so I cut my fabric to be 53″ x 22″.
2.-3. Next fold the fabric in half and lay it with the fold down the center of the ironing board, make sure you have the same amount of excess on the top and bottom, which should be 2 inches. Using a wax crayon or tailors chalk rub and draw along the end of the ironing board. Go around the entire edge of the board, this will make your pattern.
4. Move your fabric back to a table and leave it folded in half, draw a 1″ seam allowance all the way around the chalk line you made. Cut your fabric. Measure around your pattern front top center to bottom center, so half of the pattern, use this as your measurement for elastic, mine was 55″. Unfold the fabric and use this as your pattern to cut your batting.
5. Cut two layers of batting the same size as the top fabric, use the top fabric as your pattern.
6. Cut your elastic and sew it on to all three layers. I sewed mine on to the top fabric but looking back I would sew it onto the bottom batting, I think. Stretch the elastic as you sew, I usually find the center of the elastic and then pin that to the top center and start sewing at the bottom center to get an even amount of stretch all the way around the cover. I did not do any type of finish other than sewing the elastic on because once on the board it hides underneath the board. I told you this was a fast project! Happy sewing!


