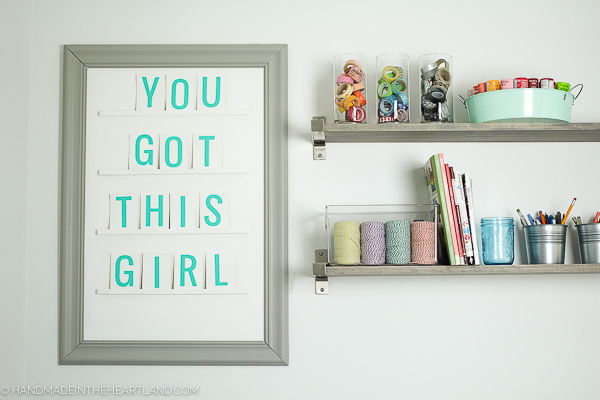
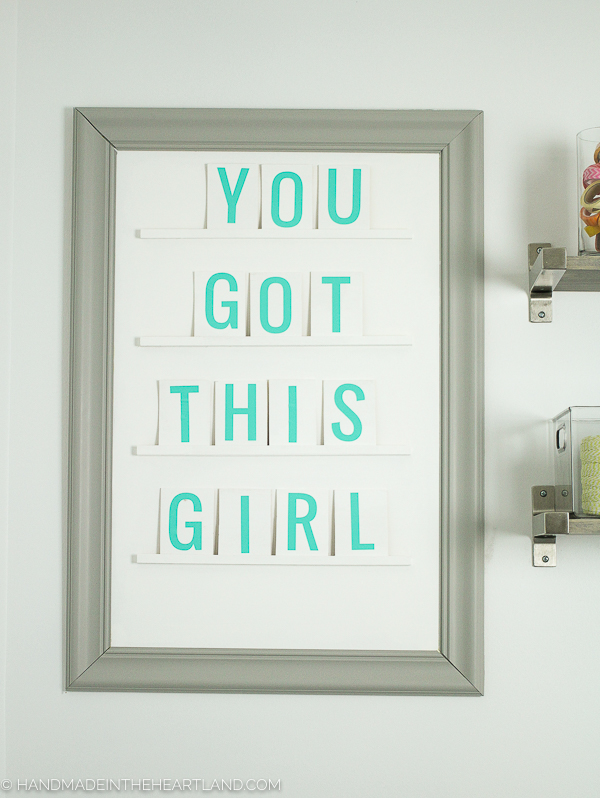
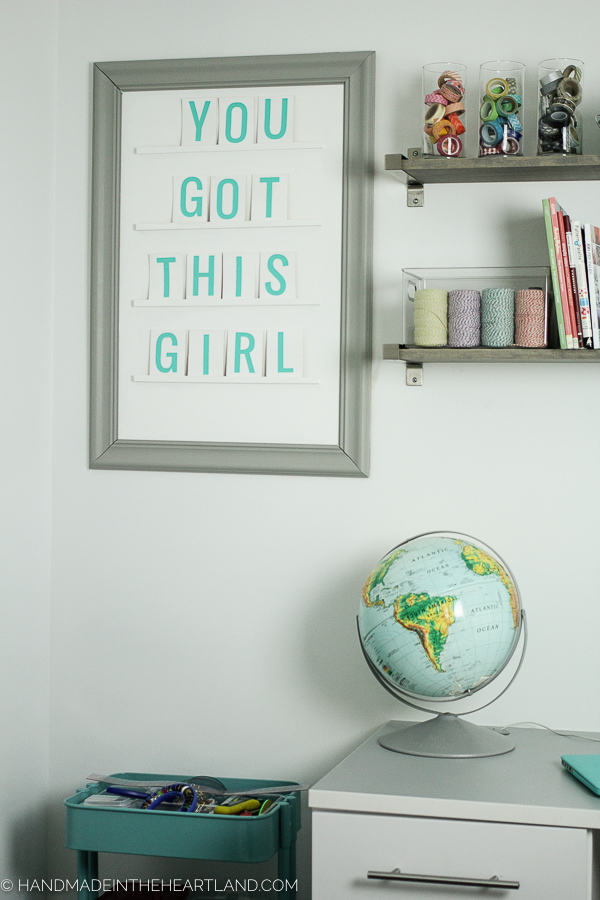
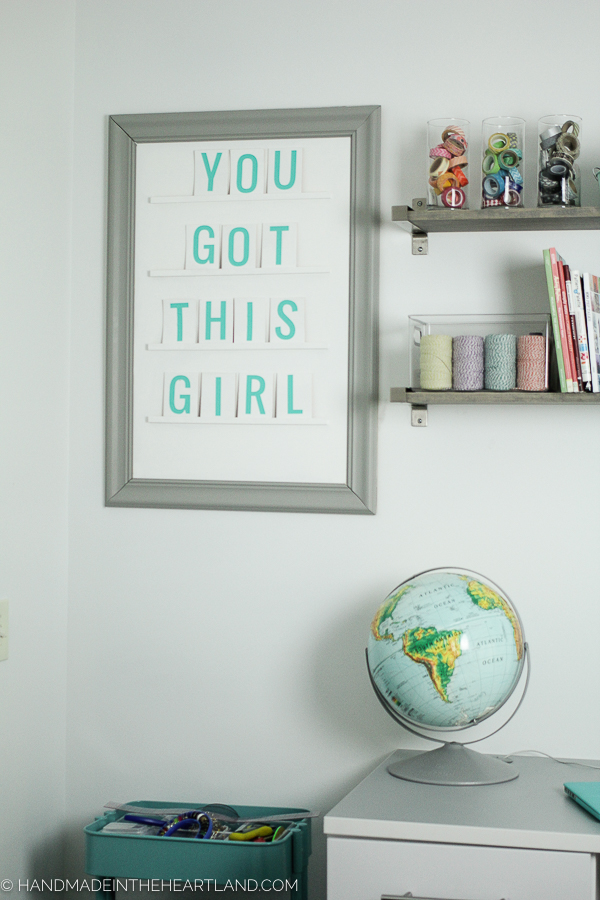
This DIY letter board has added so much personality and style to my craft room/office space. It’s a perfect weekend project and if you’re like me you are going to be giddy about the finished project! In this post I’ll show you step by step how to make it! This post is sponsored by Cricut and contains affiliate links.
Have you ever had inspiration for a project strike you and you just have to make said project immediately? That’s exactly how I felt about this DIY letter board. I knew I wanted some fun decor in my office/craft room/studio and I just love motivational quotes and phrases, and then this idea came to me. I’m totally in love with it.
I was inspired by Five Marigolds and Always Rooney‘s letter boards and came up with my own version. Of course it had to be aqua, I live for all things aqua. The Cricut Caribbean vinyl was the perfect color!
DIY Letter Board Supplies:
-1- 24″x34″ piece of 1/4″ thick MDF. I purchased a 2’x4′ piece at Home Depot and had them cut it.
-2-24″ and 2-34″trim pieces. I used 2″ trim pieces for the frame. (found at Home Depot)
-2 3/8″ x 36″ square dowels. (also purchased at Home Depot)
-2 1/2″ wide x 36″ long and super thing pieces of balsa wood for the front of the ledges that hold the letters (purchased in the wood section at Hobby Lobby)
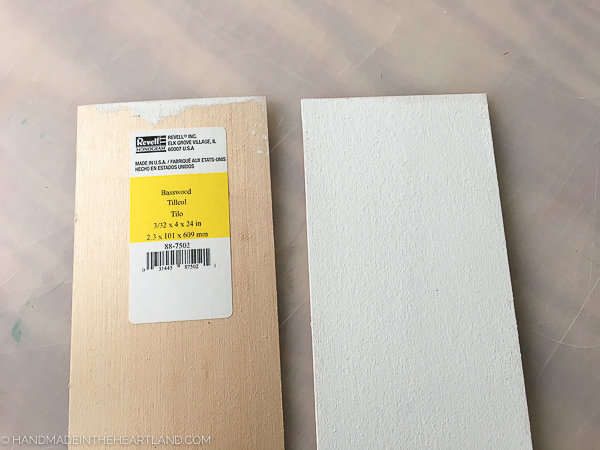
-4-6 pieces of Basswood or Balsa 3/32″ x 4″ x 36″- for letters (purchased at Michael’s)
-White Paint
-Gray Paint
Step 1: Paint all your pieces
I painted all the balsa wood strips white, the large board (the background for the board) white, and the small pieces for the ledges white. I painted the trim pieces gray. I realized after the fact that I wish I would have painted both sides of the strips so that I could have letters on either side, just to have more letter options.
Step 2: Assemble the frame
To make the frame for the board I used a compound miter saw (or rather my husband did) and cut the ends of each trim piece at a 45 degree angle. We then used wood glue and glued them to the board. They are not on the outside of the board like a typical picture frame but rather glued strait onto the wood, lining up with the outside edge. After glueing the frame pieces down it’s always a good idea to clamp them down and let them dry for at least 3 hours.
Step 3: Assemble the ledge pieces
I cut my dowels and thin balsa strips to 16″ long and then wood glued them together. You can see the photo below. I also clamped them for several hours after glueing.
Just remember this cute thing is what you’re going for!
If you’re curious as to how the Cricut Explore works watch this quick tutorial. I walk you step-by-step through the process of using the Cricut software and cutting out the letters for this project in the video below.
Step 4: Make your letters
The width of your largest letter will determine how wide to cut your wood strips down to. I figured a W is one of the widest and after measuring it in the Cricut design space I concluded that I needed my pieces to be 3″ wide. I marked them with a ruler and pencil and then cut them.
**I used both balsa wood and basswood strips- I thought I was buying the same thing. I prefer the basswood, it’s stiffer and doesn’t curve as much as the balsa, however you cannot cut the basswood with a utility knife- it’s too hard- you have to cut it with a saw. SO if you do not have a saw you’ll want to get the balsa that you can easily cut with sharp scissors or a utility knife.
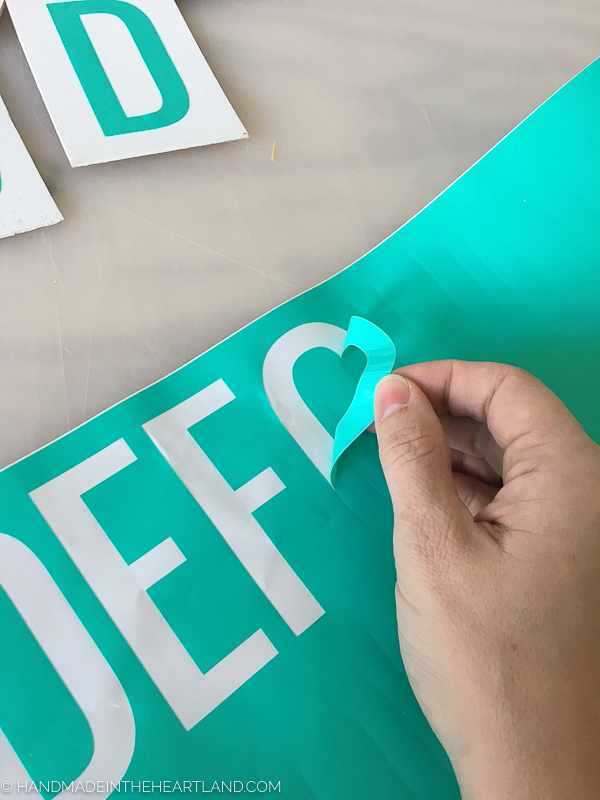
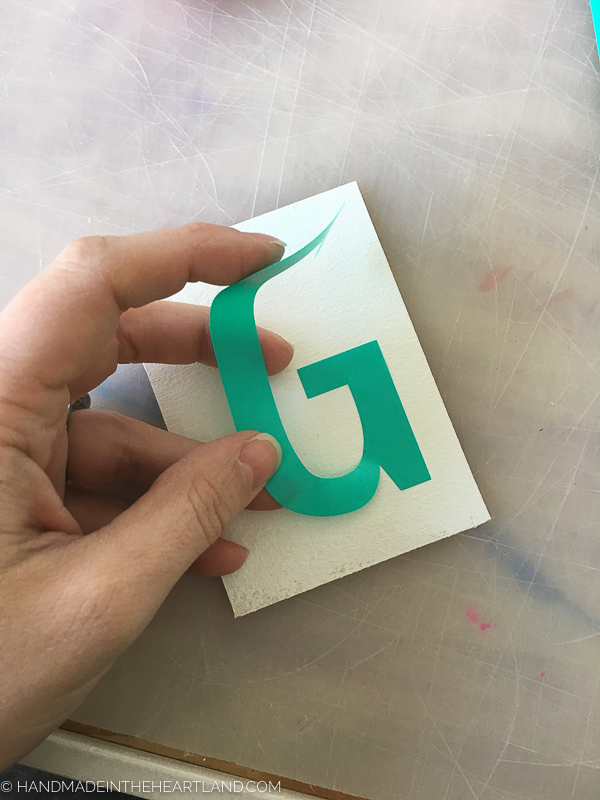
Step 5: Cut letters with Cricut Explore
I love my Cricut explore and use it all the time. To see exactly how I cut my letters watch the video above. I take you step by step showing you how to cut out these letters.
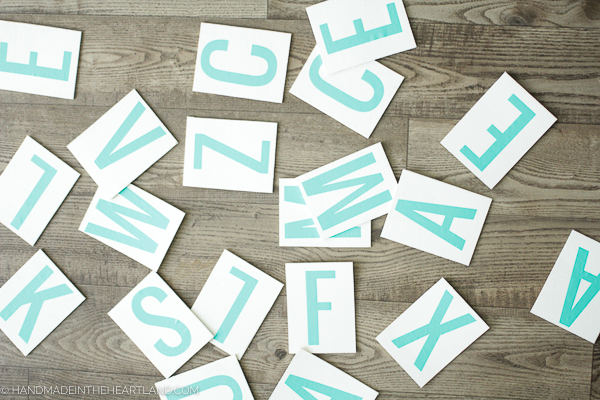
I love adhesive vinyl, it’s so versatile and can be used for so many different projects. I cut these letters out using the Cricut Caribbean Vinyl and used the font Oswald, I only cut out capital letters.
So obviously we use some letters more than others. I’ve listed how many of each letter I cut out: A-3 B-1 C-2 D-3 E-3 F-1 G-2 H-2 I-3 J-1 K-1 L-3 M-2 N-2 O-2 P-2 Q-1 R-2 S-3 T-2 U-2 V-1 W-1 X-1 Y-2 Z-1
I got everything cut out using 1 entire roll of the Cricut Vinyl.
Step 6: Glue the ledges onto the board
By now you are familiar with wood glue, so for your last step glue your ledges onto the framed board. I spaced mine with 6″ in between each ledge. I wish I would have payed a little bit more attention to spacing before I started glueing them down- my lowest ledge could have been several inches lower.
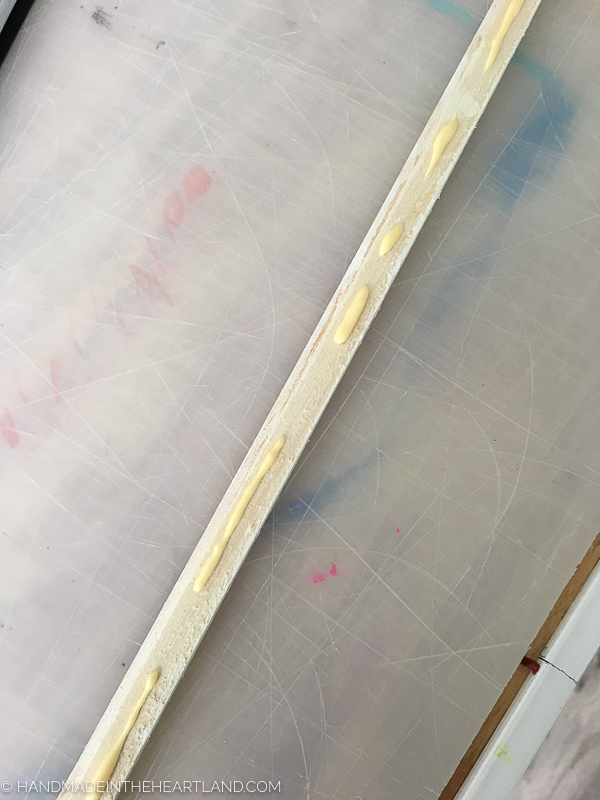
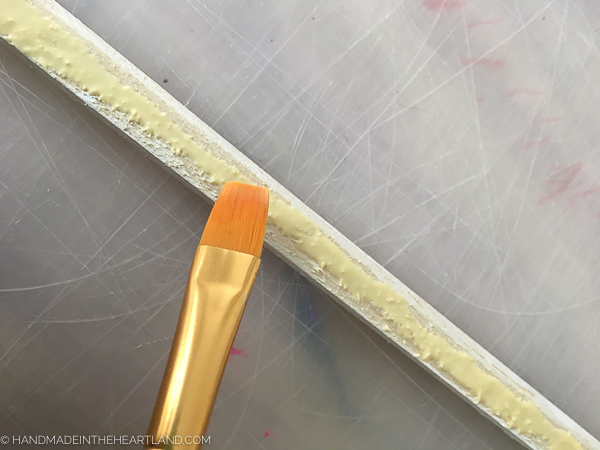
I dotted some wood glue onto the dowel and then used a paintbrush to smooth it out across the entire surface and remove some excess glue that would have dripped out.
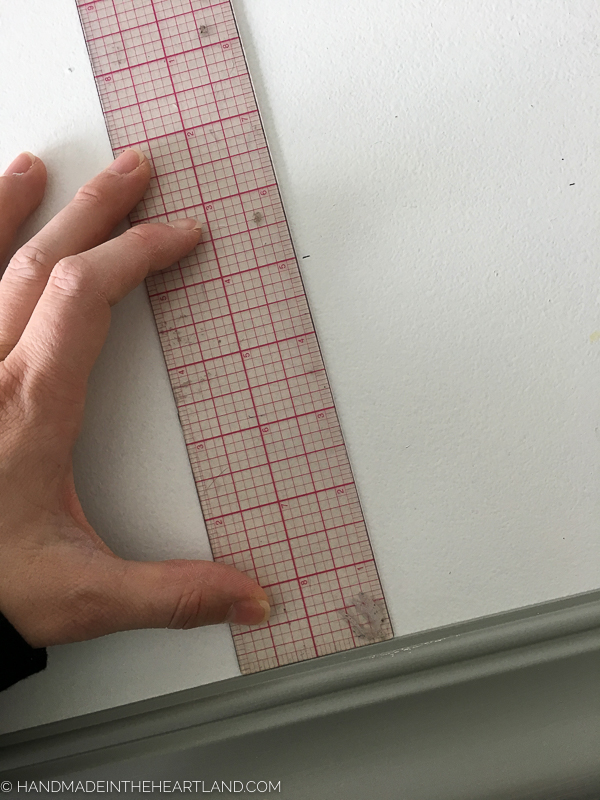
To measure where the dowel would go on the board I used a ruler and made little tack marks at 6″ all the way across the board to ensure it would be strait. I placed the bottom edge of the dowel onto the tack marks. See the photo below.
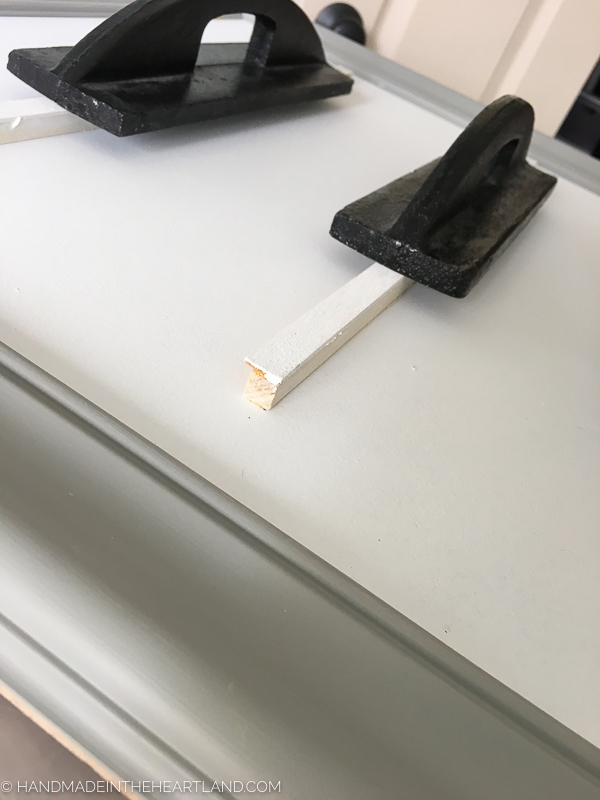
After you place your dowels with the glue onto the board you need to weight them down some how. Because they are in the middle of the board clamps won’t work so I used pattern making weights, you could also use heavy books.
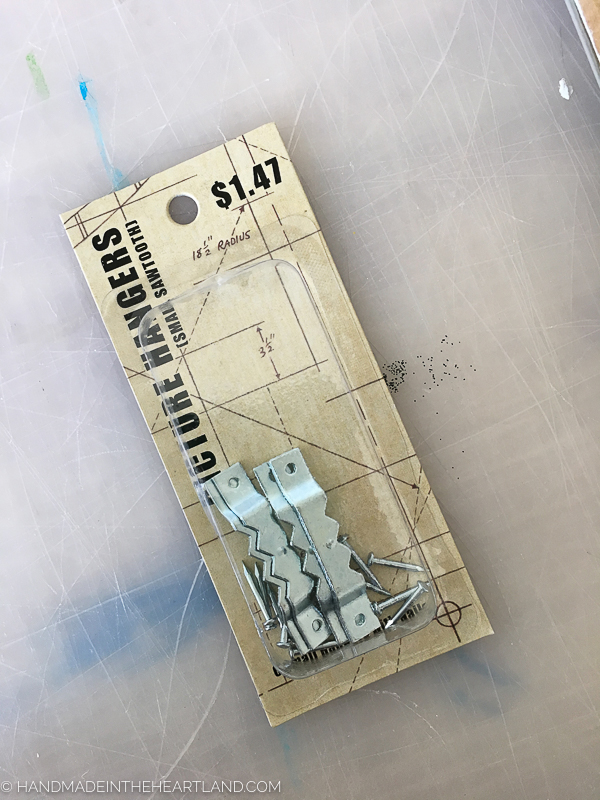
Let it dry for several hours. Once it’s dry add a few picture hangers onto the back. I used the ones below and added 2. A little tip- use small pliers to hold those teeny little nails while you hammer them in. Viola! You are done!
Now get to work thinking of fun phrases to make you smile! Oh and send me a picture of your completed letter board!! It thrills me to hear from you and see what you’ve made! Leave a comment or tag me on Instagram (@handmadeintheheartland) or facebook!
This is a sponsored conversation written by me on behalf of Cricut. The opinions and text are all mine.
