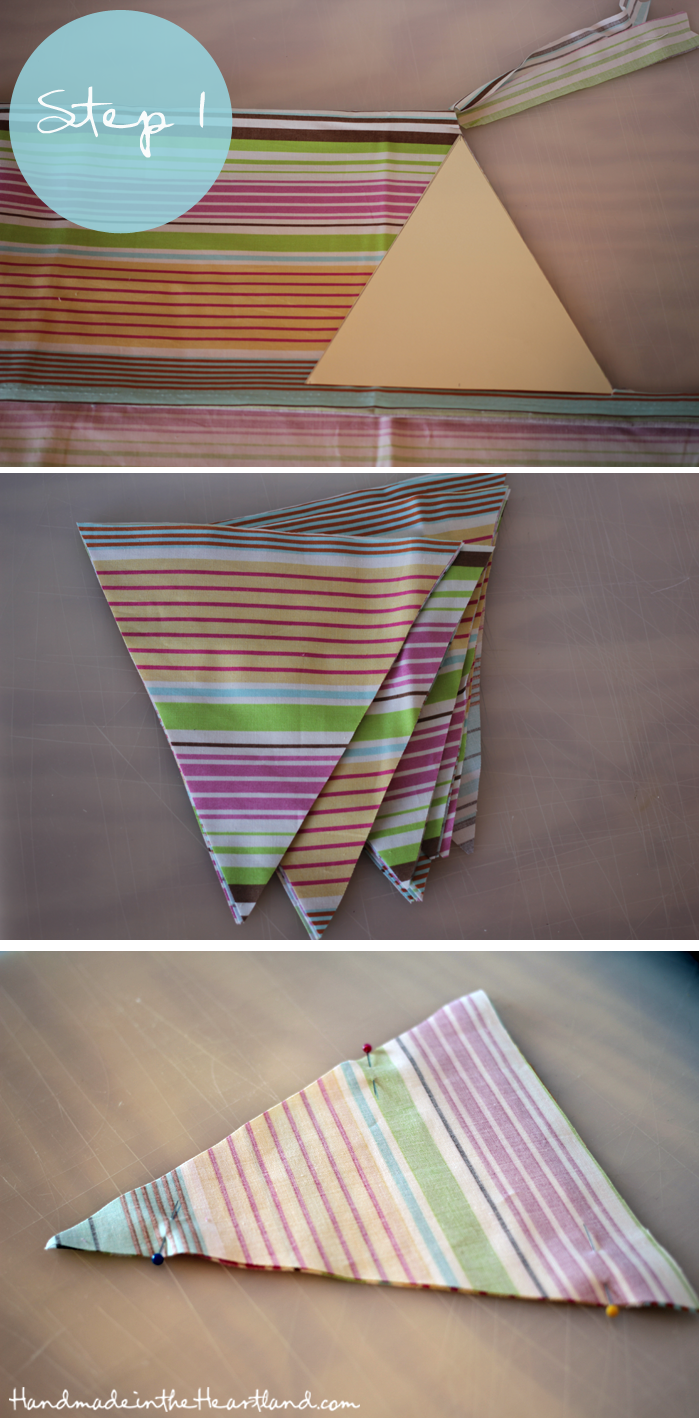
Step 2: Sew down the 2 sides and leave the top open. Turn it right side out and iron flat.
Step 3: Cut the top little corners off (see photo below) and then fold the top over twice as skinny as you can make it- i tried for 1/4″and then iron so its easier to sew down.
Step 4: Sew across at 1/4″ so you tack the folded edges down to the pennant. and then trim the corners once more- see photo below. Now your pennants are done! All you have to do is sew them to the trim.
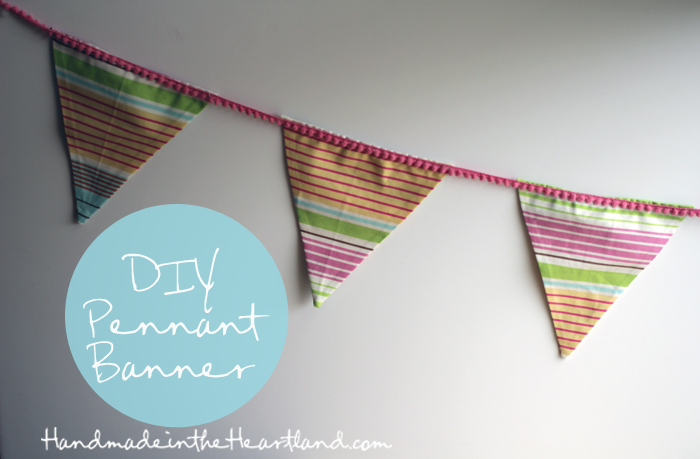
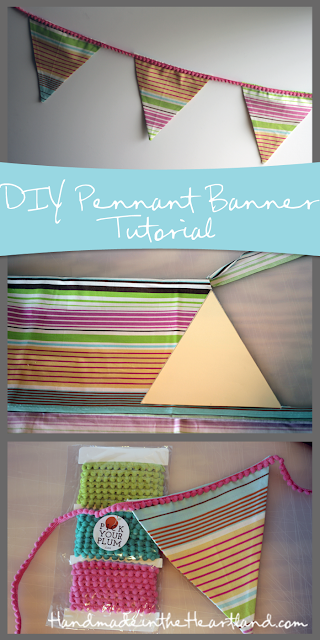
Step 5: Measure out your trim. I used some trim i got off of pick your plum a while ago. I left 2″ in between each pennant and i thought it was great placement. Instead of pinning them all to the trim for them just to fall off as i was sewing i would sew one and then measure white sitting at my sewing machine and pin one at a time. I just top-stitched the trim on to the pennant. After that you’re all done! yay! now you have a cute pennant banner to use at any special occasion or just to decorate a room. Send me a picture if you make one, i’d love to see it!


How to organize a garden birthday party? - Crafty Dutch Girl
Sunday 11th of July 2021
[…] made a banner with scraps of fun fabric. Their first project on the sewing machine. Or buy one […]