The new Cricut Easy Press 2 is going to make all your iron-on vinyl projects so much easier! I’m loving the easy press variety of sizes and how I don’t have to guess if my iron has been on each spot long enough. It’s a perfect solution to making your crafting fun less stressful and headache free. This post is sponsored by Cricut and contains affiliate links.
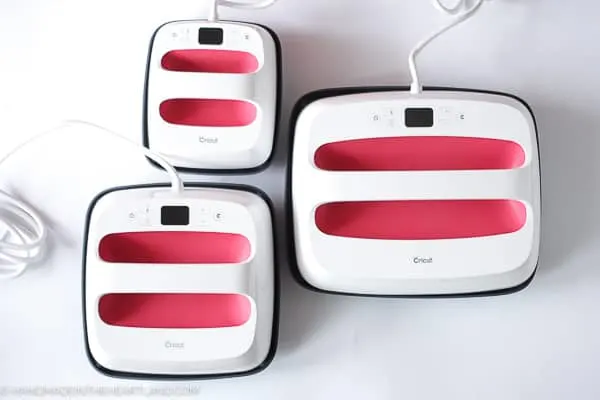
All of the Cricut Easy Press 2 sizes are an improvement from the first Easy Press with a thicker heat plate and higher temperature settings for more iron-on materials. I’m so in love with the Easy Press 2 and in this post I’ll tell you all about it and hopefully answer any questions you may have about the Easy Press 2.
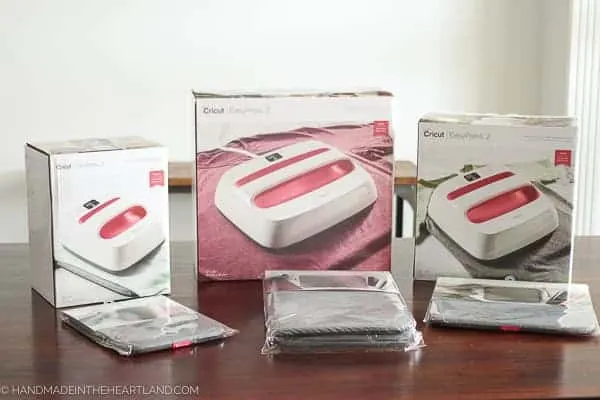
How big is the Easy Press 2?
Here are some common questions and answers to the sizing of the Cricut Easy Press 2:
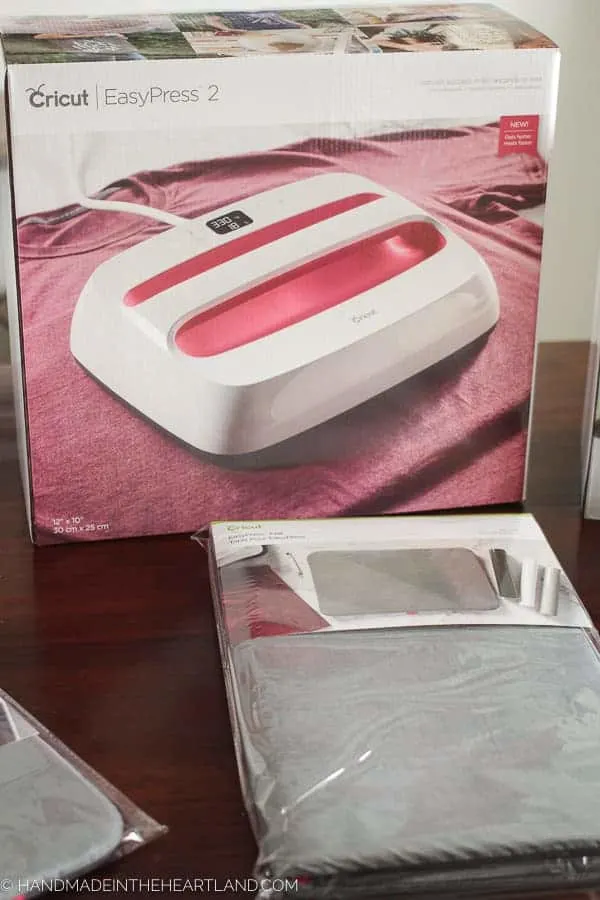
What are the dimensions of the Easy Press 2 sizes? The small is 6″x7″, the medium is 9″x9″ and the large is 12″x 10″.
What will they cover? The 6″x7″ is perfect for small projects like hats, shoes, baby onesies, socks, mittens/gloves, scarves and napkins. The 9″x9″ is great for kids clothes, bags, sweatshirts, pillows, aprons, towels, table runners, and costumes. The 12″x10″ is the best for adult clothing like t-shirts and sweatshirts, banners, blankets, large pillows, sleeves and pants.
What size of Cricut Easy Press 2 should I buy? When deciding which Cricut heat press is right for you think about what type of projects you make the most. If you like to do adult t shirts you are going to want the largest easypress 2 so that you don’t have to move the easy press multiple times over the same design which can cause over-processing of the iron-on material.
How to use the Easy Press 2
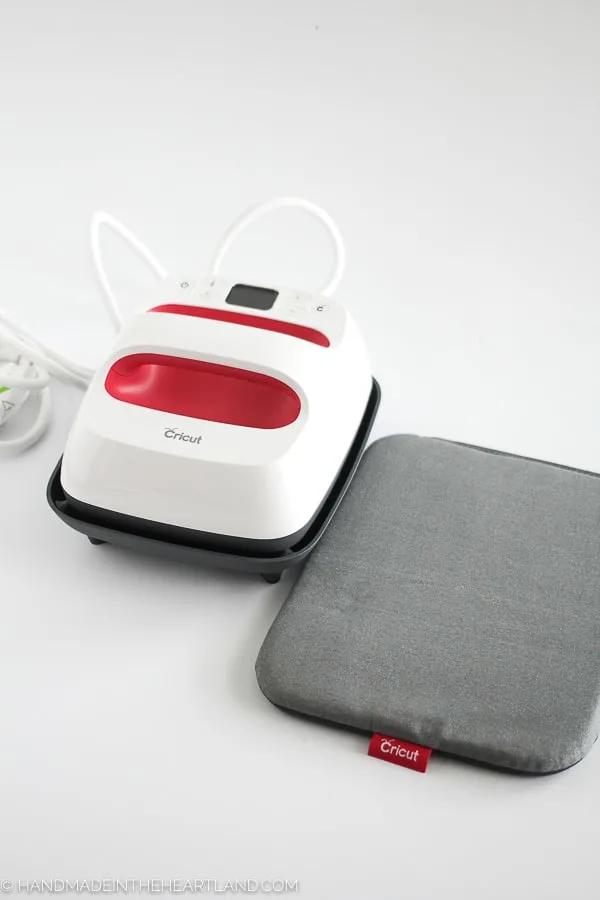
How do I use the Easy Press 2? After you take the Cricut press out of the packaging you’ll plug it in and hit the power button to turn it on. You’ll then want to consult the quick reference guide in either THIS PDF or use the interactive reference guide at Cricut.com to decide your temperature and time.
For instance if you are using everyday iron-on on a 100% cotton t-shirt the guide will tell you that you need to set the temperature at 315 for 30 seconds. You’ll also note on the guide that it says to use gentle pressure and you can peel it when it is warm.
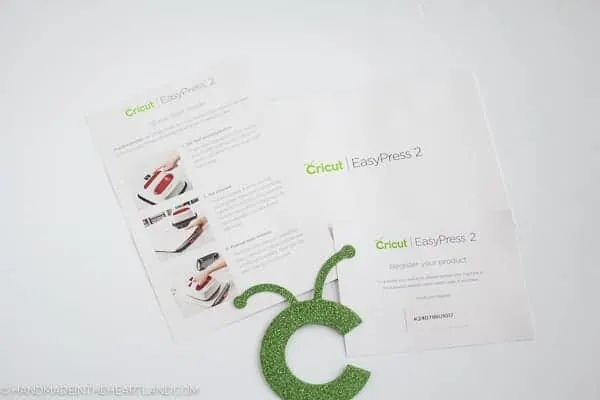
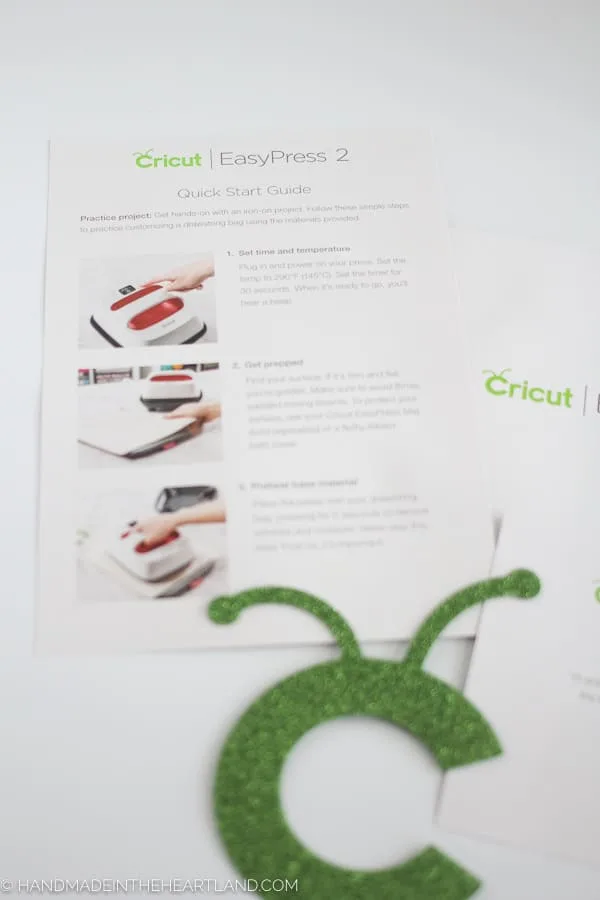
It is really very simple to use. When you take it out of the packaging you’ll see a quick start guide that walks you through your first project with all the materials that came with the press.
Is the Easy Press 2 just a big iron?
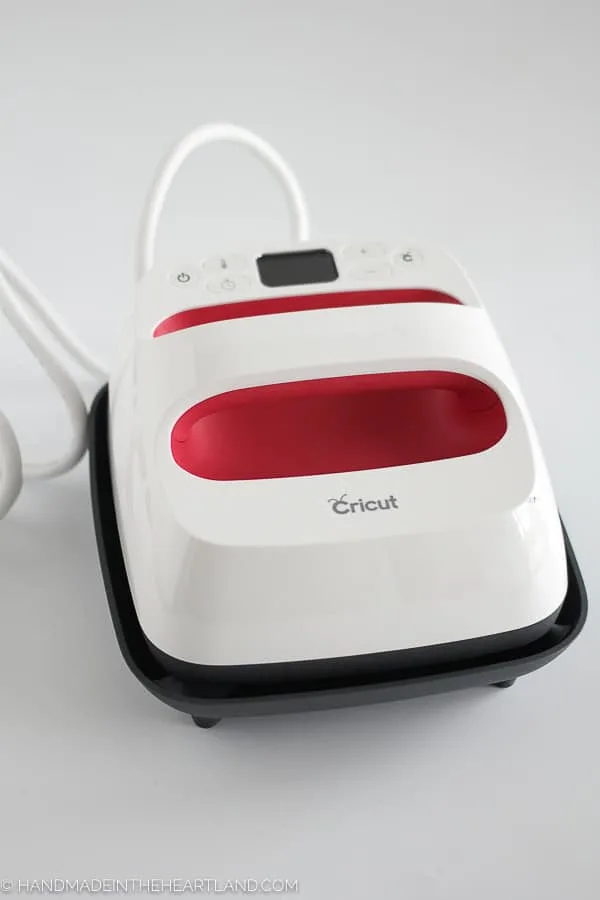
Yes and No. The Easy Press 2 is kind of like a big iron, it has a heat plate that heats up to the temperature you set it to and it’s a square or rectangle surface. In the past I’ve always used an iron for my iron-on projects which can work but can be very frustrating.
Typical irons are an odd shape when it comes to pressing a image to a t-shirt so you end up going over the image multiple times and loose track of what areas have had enough heat and what haven’t.
The temperature gauge is also key, with an iron you can’t tell what the actual temperature is. I also love the timer it makes it super easy to know when I need to lift the heat off of the design.
What is the Easy Press 2 used for?
Basically the idea is that you use a product called heat transfer or iron-on vinyl, you cut the design you want with a craft cutter like the Cricut Explore Air (read my review here) and then iron it on to a bag, shirt, sweatshirt, apron or anything else you can think of.
Iron-on vinyl has made making awesome projects at home a breeze. It’s amazing the quality of t-shirts and accessories you can create with the Cricut Explore or Maker and the Easy Press 2.
If you need some ideas check out THIS Pinterest board that I’m in with some friends, SO many ideas! You can also see my favorite Foil Iron-on Tee, the greatest showman tshirt I made for my daughters and a Christmas iron-on pj shirt that is so super cute with glitter iron-on!
What Materials Can I use the Easy Press 2 On?
The Cricut Easy Press 2 can be used on a host of materials including: cotton, cotton/poly blend, polyester, nylon, silk, mesh, cotton canvas, felt, faux leather, card stock, cork board and chip board.
Why should I buy a Cricut Easy Press 2?
I love iron-on projects and up until using the Easy Press 2 I found the actual ironing process difficult and frustrating. With the easy press it totally takes the guesswork out of the equation and makes each project a breeze. I don’t have to worry about different areas being exposed to different amounts of heat or if the project has had enough heat applied. If you love to make projects with iron-on vinyl I high recommend an Easy Press 2.
This is a sponsored conversation written by me on behalf of Cricut. The opinions and text are all mine.
Jan Wolf
Sunday 15th of November 2020
Thank you for this very informative article! I have one more question. Can you use a larger press on a smaller iron-on? I can’t afford to buy all three Easy Presses. I have the smallest one. Could I use the 12” x 10” press on a child’s shirt? Would that ruin the fabric? I can’t seem to find the answer to this anywhere. Thank you for any assistance, and thanks again for this article.
Angela Muir
Thursday 19th of November 2020
Hi Jan! Yes! You can absolutely use the largest press on a smaller piece. I totally recommend getting the largest one if you can only get one easy press, and I actually reach for the big one 99% of the time!
Cricut Foil Iron-On Vinyl Tee | Handmade in the Heartland
Tuesday 27th of October 2020
[…] a Cricut Easy Press to apply the design. I love my Cricut Easy Press! To make sure you have the right Easy Press settings always check the Cricut Heat Guide which will […]