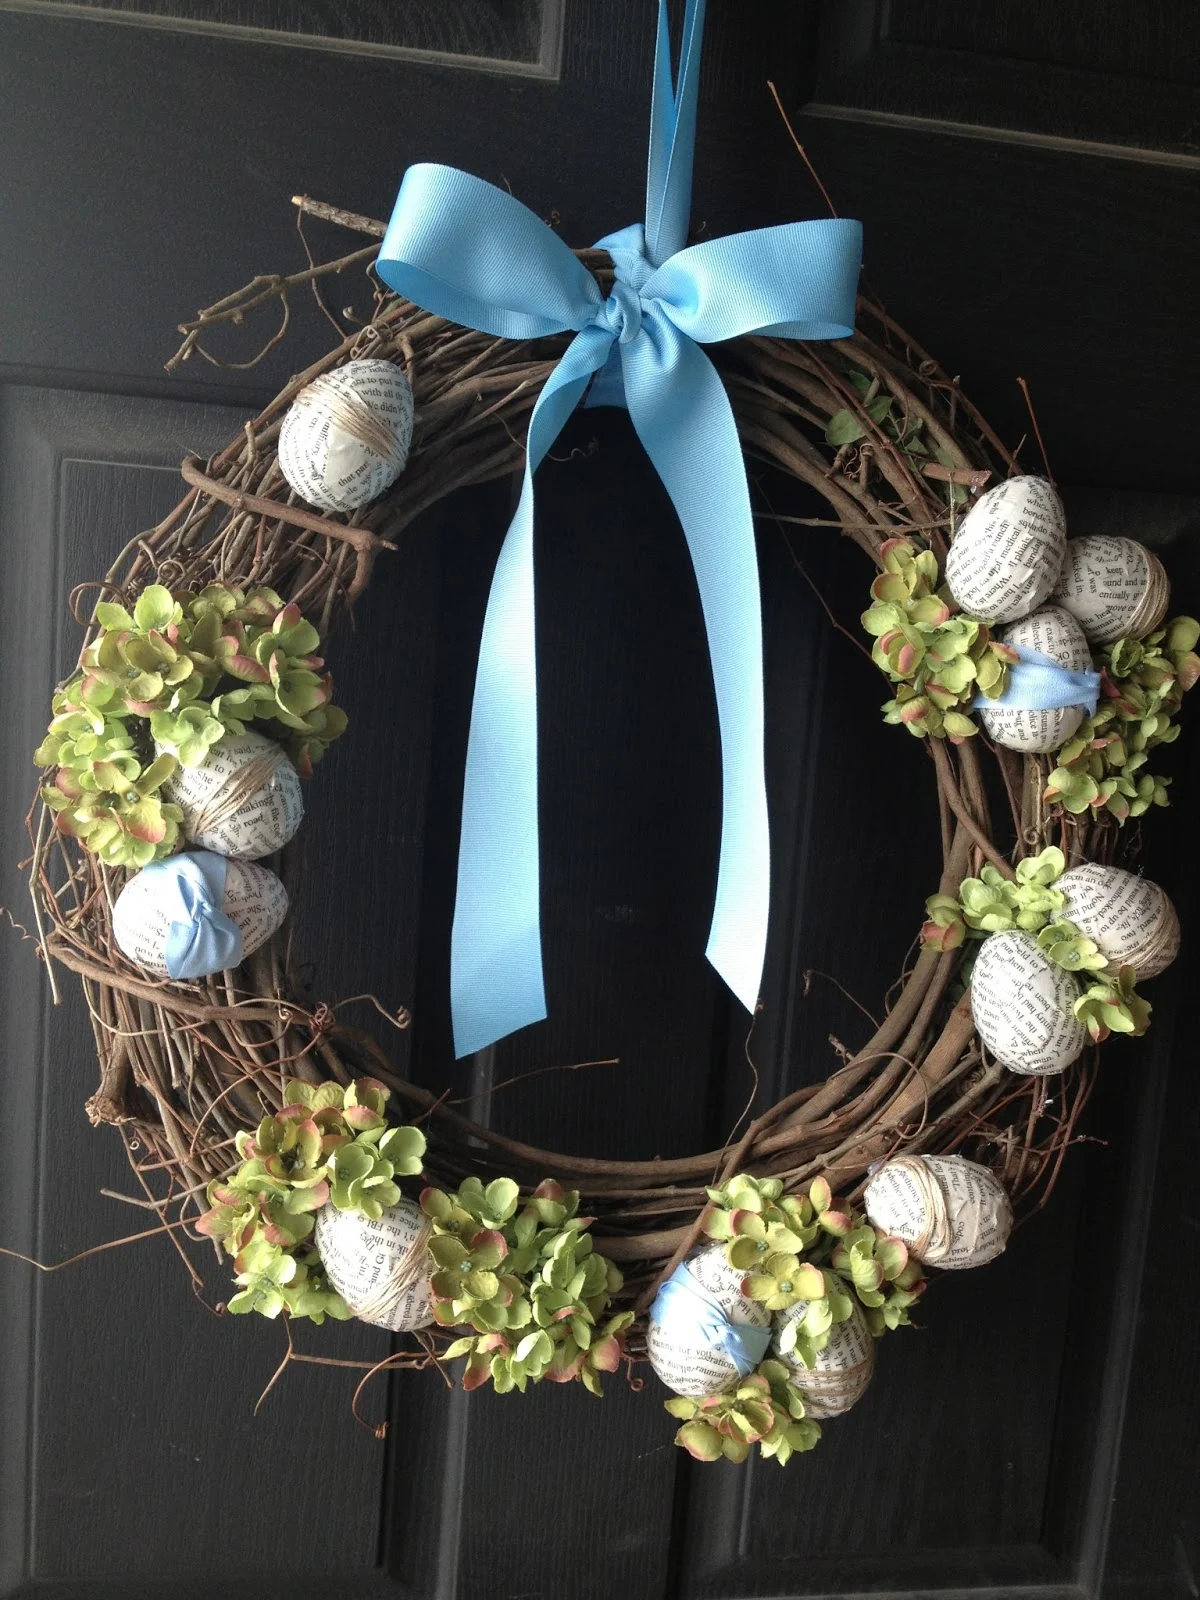
I created this beautiful book page Easter egg wreath by decoupaging dollar store plastic eggs with pages from a paperback book. Learn how to make this wreath on your own with this step by step tutorial.
This post contains affiliate links which means I make a small commission if you purchase something I reccomend.
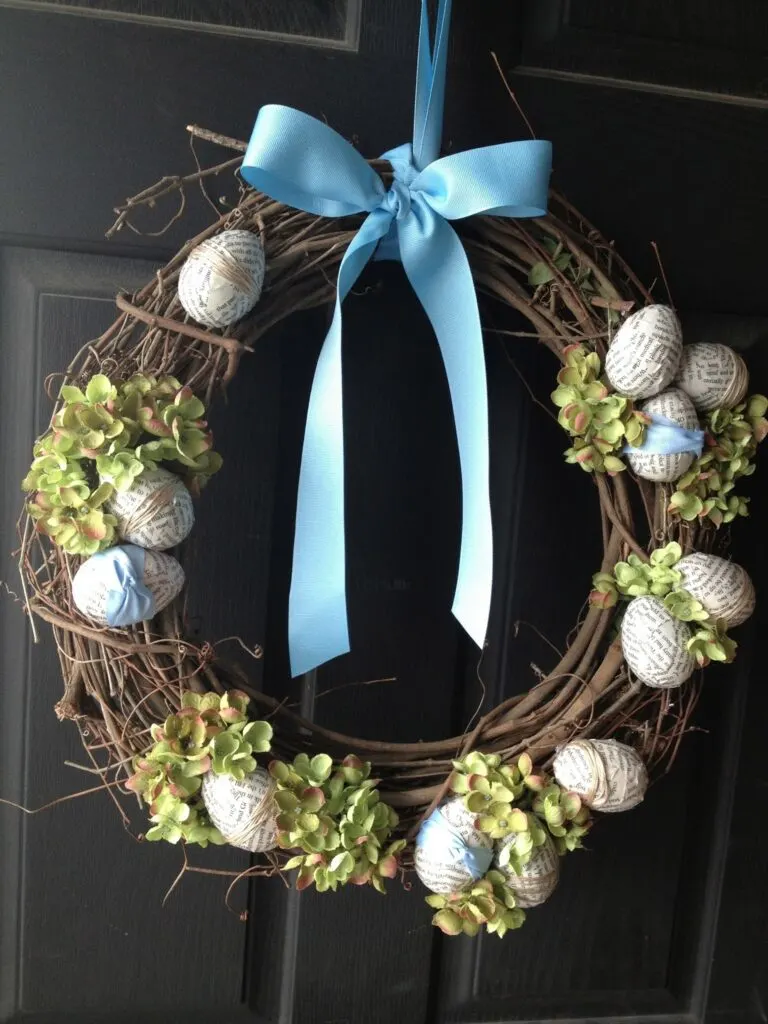
I love making wreaths! You might remember my DIY Succulent Spring Wreath. For this wreath I decided I wanted to decoupage some eggs with book pages. I was inspired by a few images I saw and decided to make a wreath out of them and then also sprinkle them around my home with my other Easter decorations. They are pretty easy to do if you have a few spare hours, it took me about 15 minutes per egg. Keep reading for the step by step tutorial.
Supplies
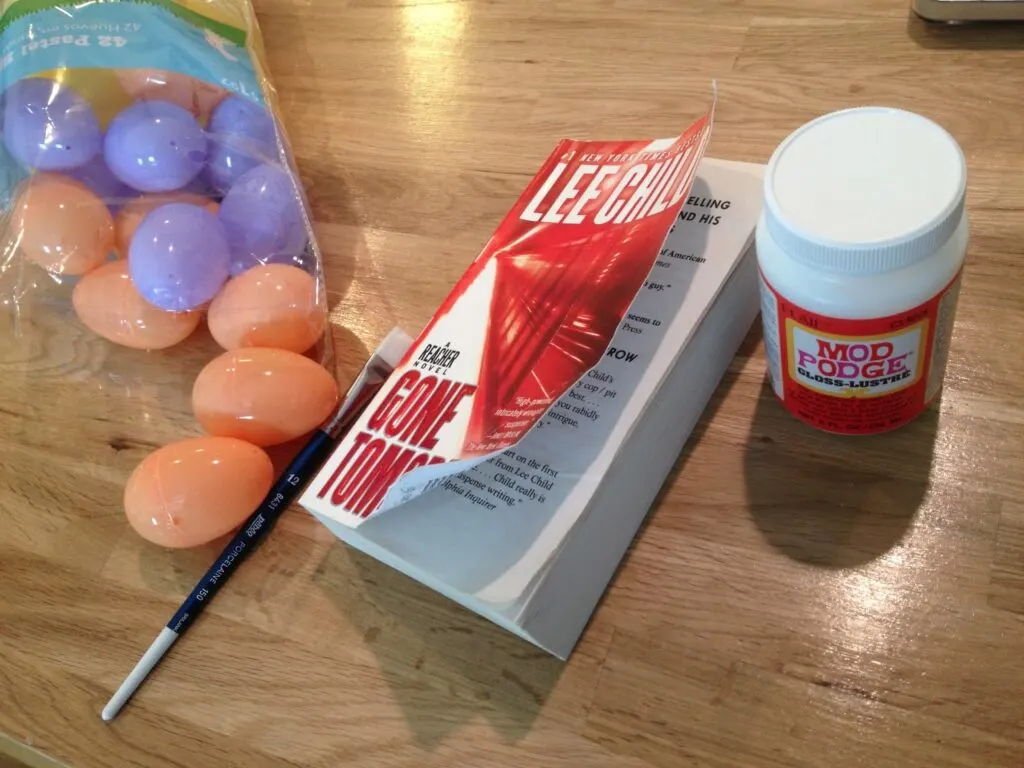
- Mod Podge Gloss– Mod podge is the gold standard for decoupaging. There is a matte and a gloss and it’s totally up to you which finish you want to use on these Easter eggs. I used gloss because it’s what I had on hand.
- Paperback book- If you’ve got one lying around your house you don’t care about use it! If not make a run to the thrift store and grab one for less than a dollar.
- Plastic Easter Eggs– Every year there are tons of places to purchase Easter eggs including dollar stores. When I did this project I made 2 dozen so I’d have plenty to play with for my wreath and decorating in my home.
- Paintbrush– You’ll need a small-ish paintbrush to decoupage the pages on to the eggs.
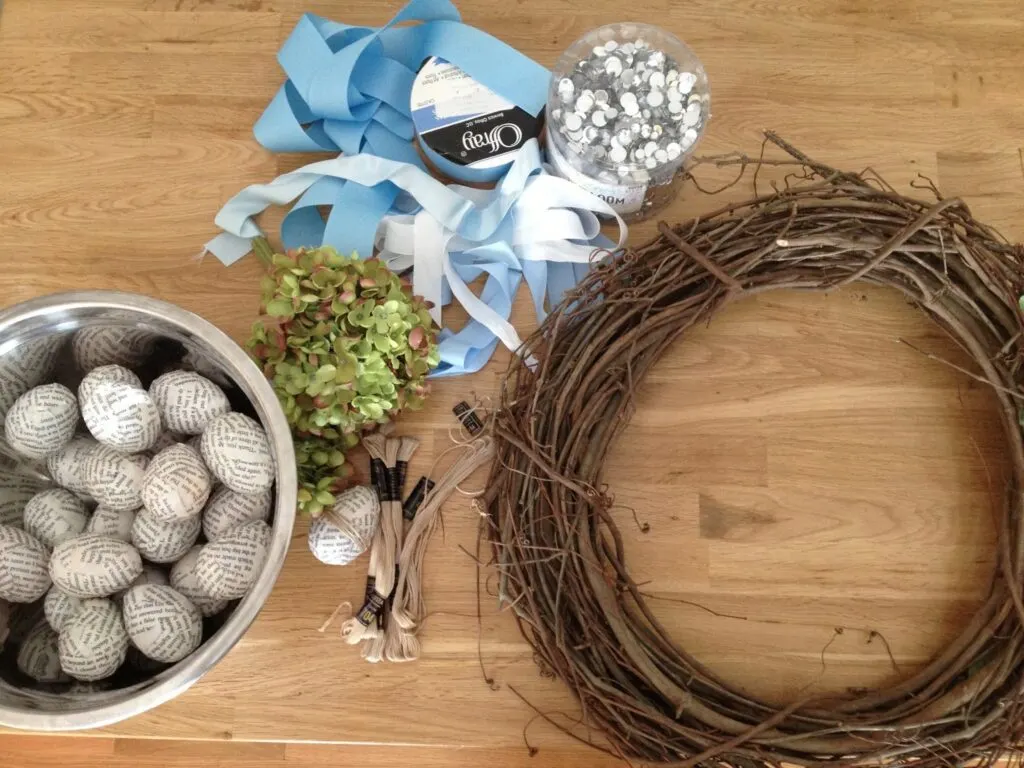
- Grapevine wreath– I used a grapevine wreath for the base of the wreath. I like the look of the natural wood against the book page paper eggs.
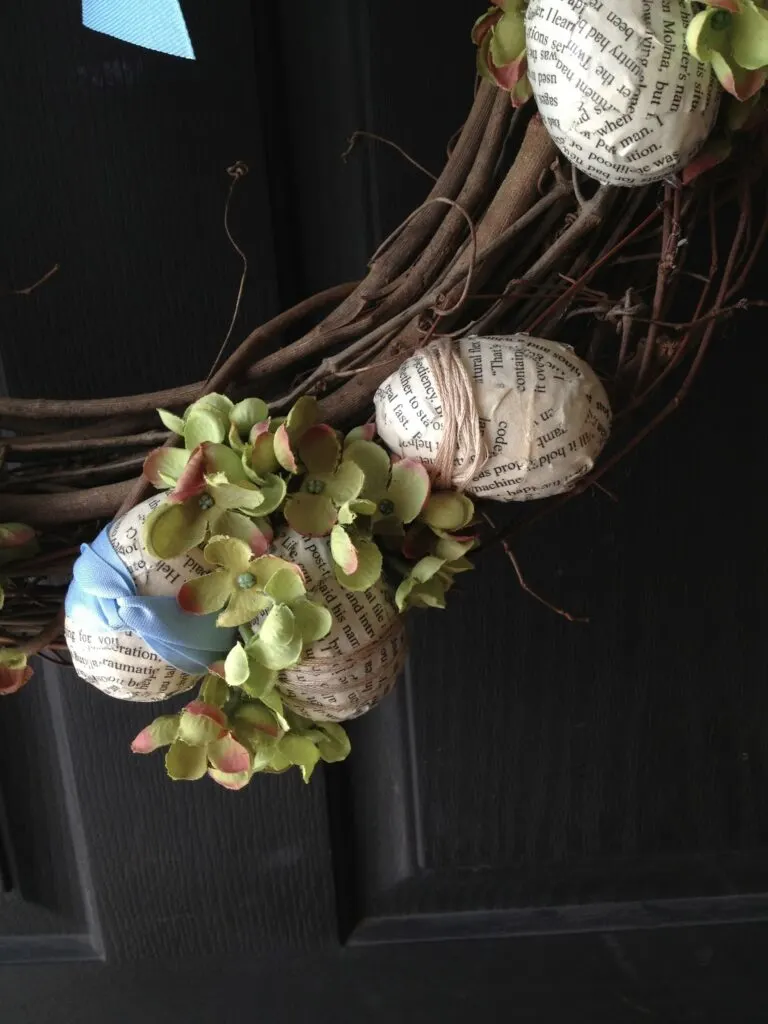
- Embroidery thread– To add a little flair to the eggs for the wreath I wrapped several of them in a neutral beige embroidering floss across the middle. I like the way it made them look more antique.
- Ribbons– You’ll want a nice thick ribbon for the top of the wreath. I used a 1 1/2 inch light blue grosgrain ribbon.
- Silk hydrangea– Any silk florals would work, I just had a silk hydrangea on hand.
- Hot Glue Gun– The tool you’ll need to put it all together, a hot glue gun is an essential wreath making supply. 🙂
Tips for decoupaging plastic Easter eggs
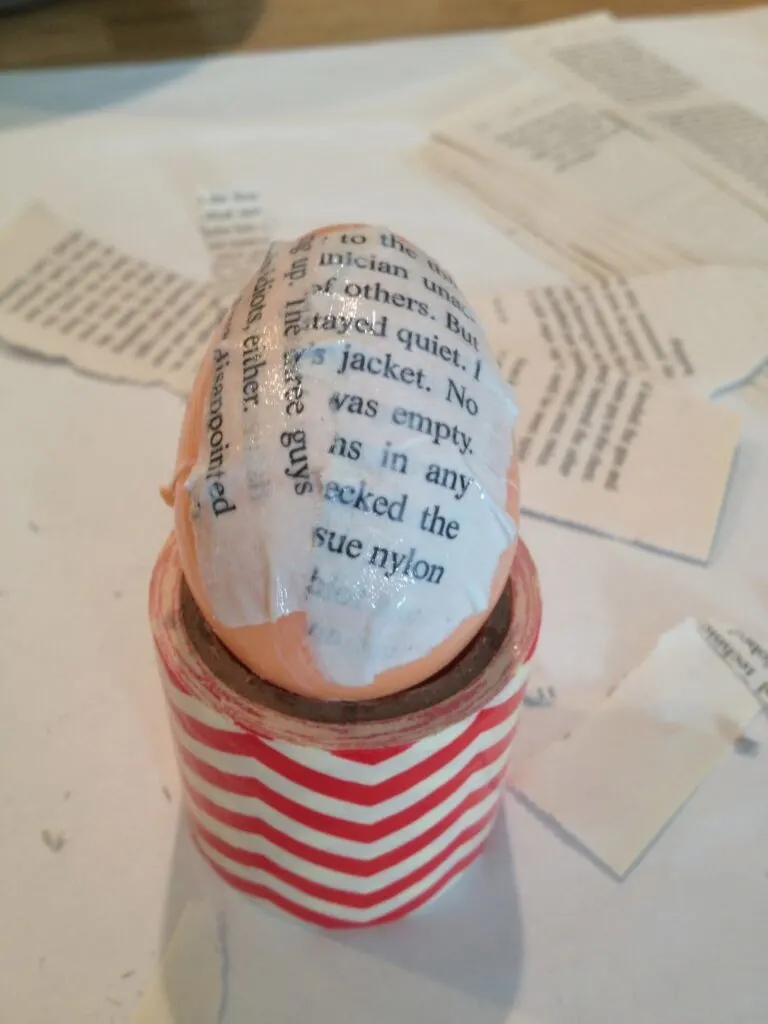
- Work in small areas on each egg. Using a paintbrush only paint the egg with mod podge on one side, don’t do the entire egg because by the time you get to the other side it will have already dried, just work one area at a time.
- Use a spool of duck tape to elevate the egg and keep it from rolling around. If you’ve ever tried to work on spheres or other round three dimensional objects you know you need some sort of stand so it doesn’t roll around while you’re working! For these plastic eggs a roll of duck tape on its side was perfect.
- Use enough Mod Podge. It’s important to know that Mod Podge dries clear so don’t worry if you feel like it’s too white as your using it to glue on the paper pieces. You want an even layer over the entire egg so it has an even finish.
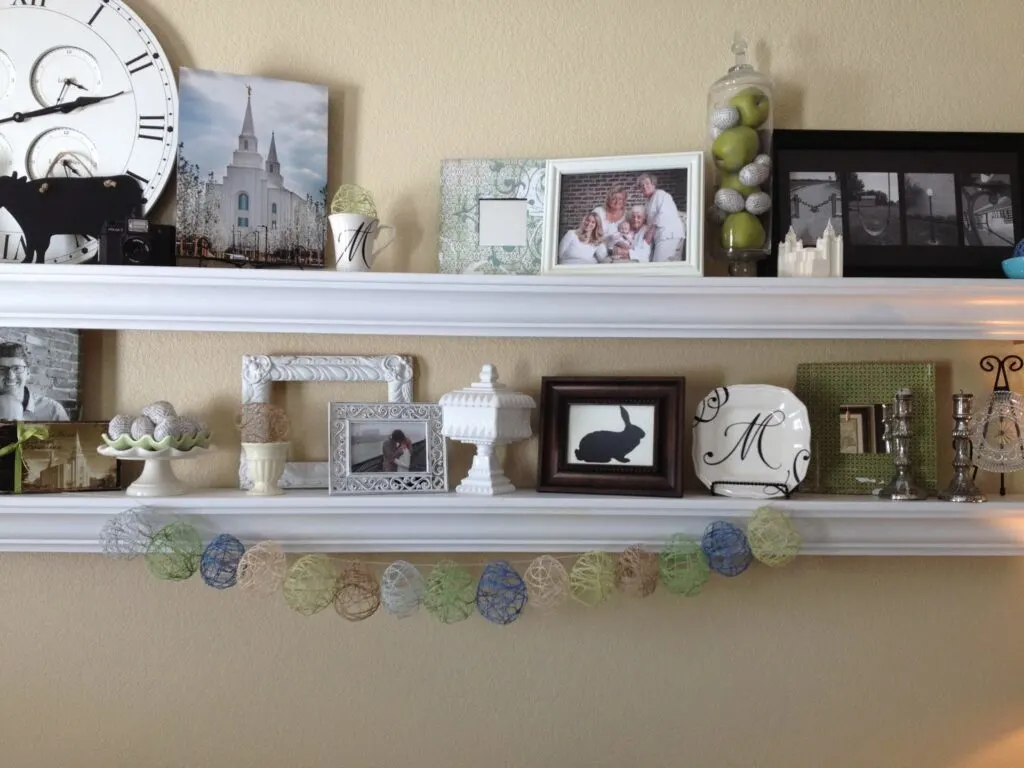
I love how they turned out, very vintage-ie looking. After making the Book Page Easter Egg Wreath I added the extra eggs in with my Easter decor. I love decorating the shelves in my living room and I added the eggs to the jar with the apples and into a porcelain egg crate.
Looking for more fun Easter ideas? Decorate your Easter table with these beautiful painted Easter egg napkins. Or get out your sewing machine and make these beautiful Easter egg chair back covers.
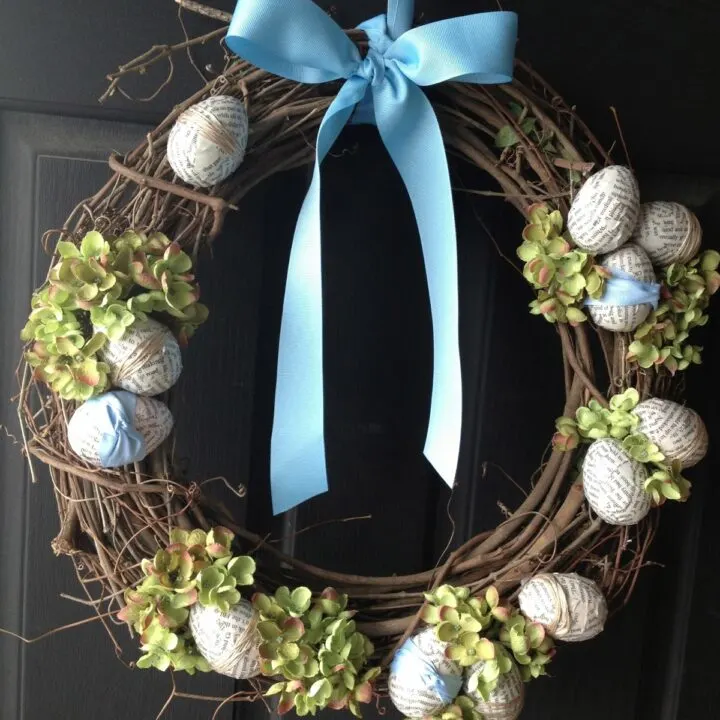
Book Page Easter Egg Wreath
I created this beautiful book page Easter egg wreath by decoupaging dollar store plastic eggs with pages from a paperback book. Learn how to make this wreath on your own with this step by step tutorial.
Materials
Tools
Instructions
- Rip small pieces of paper from your book pages. Different small sizes and shapes are great. Using a paintbrush put down 1 layer of Mod Podge on one side of the egg.
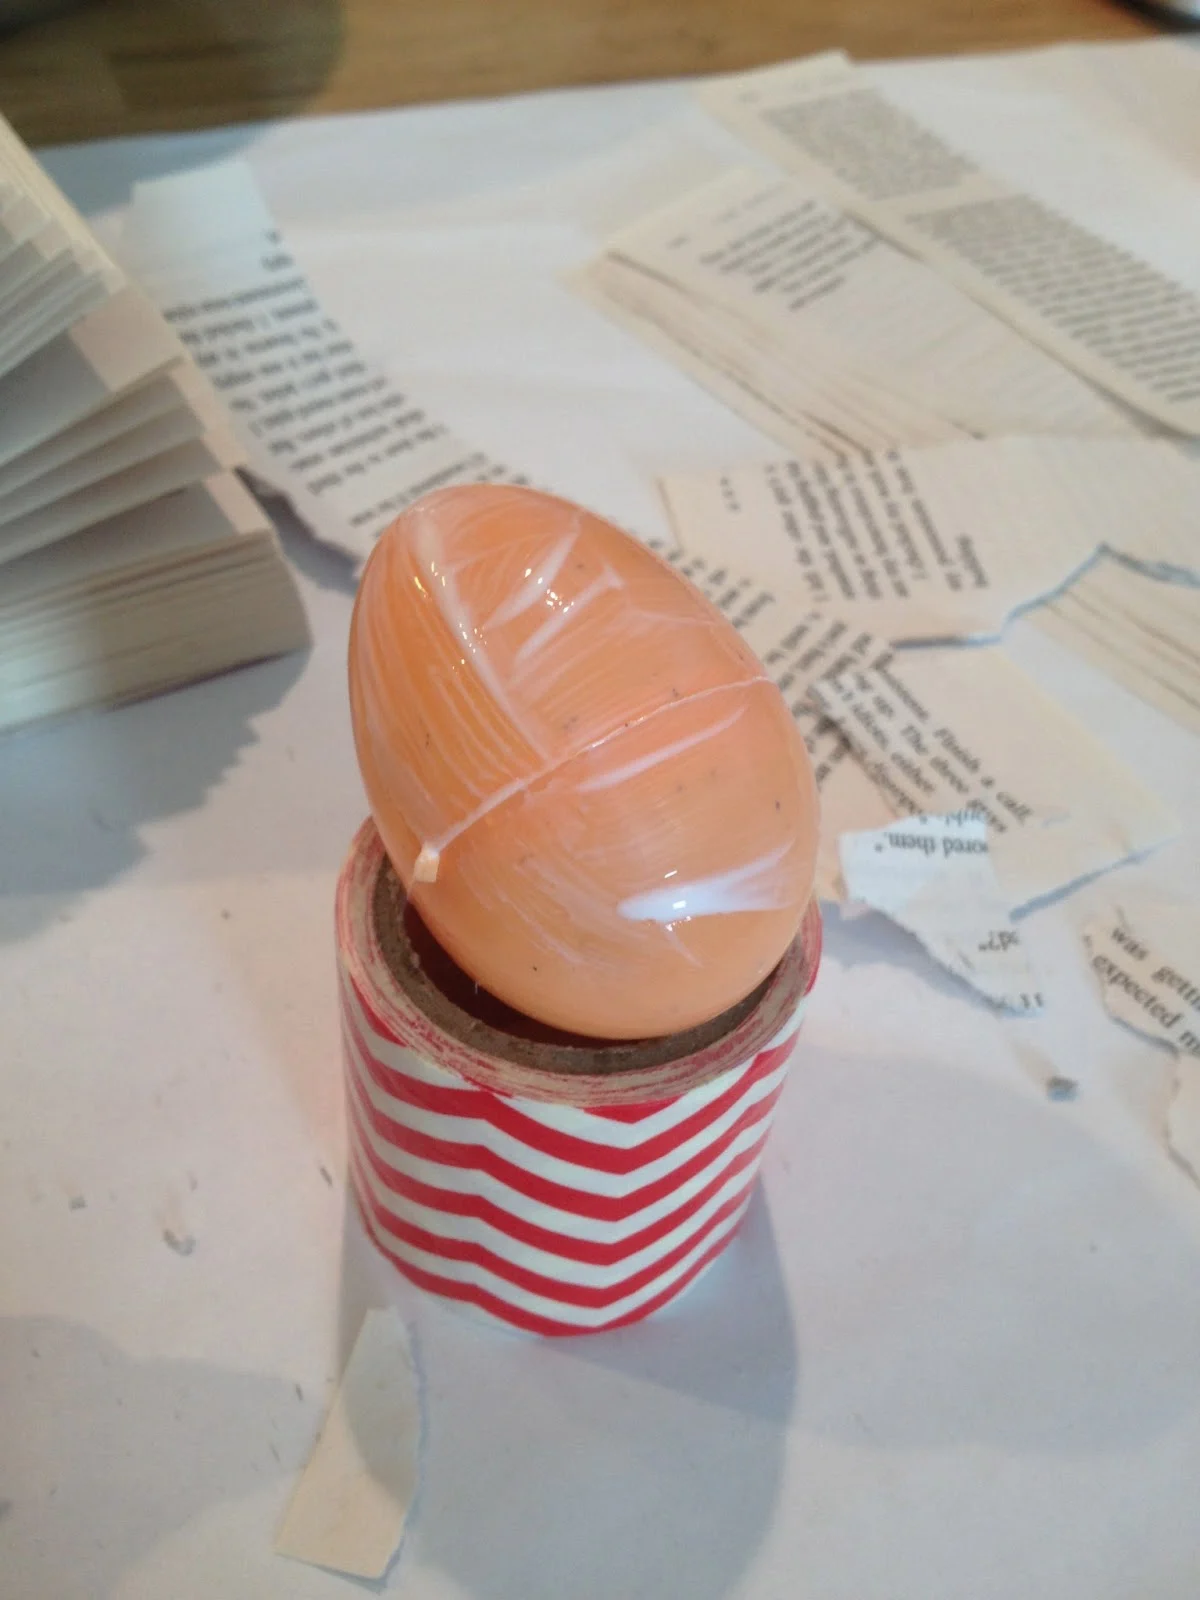
- Place a piece of paper on top of the layer of Mod Podge.
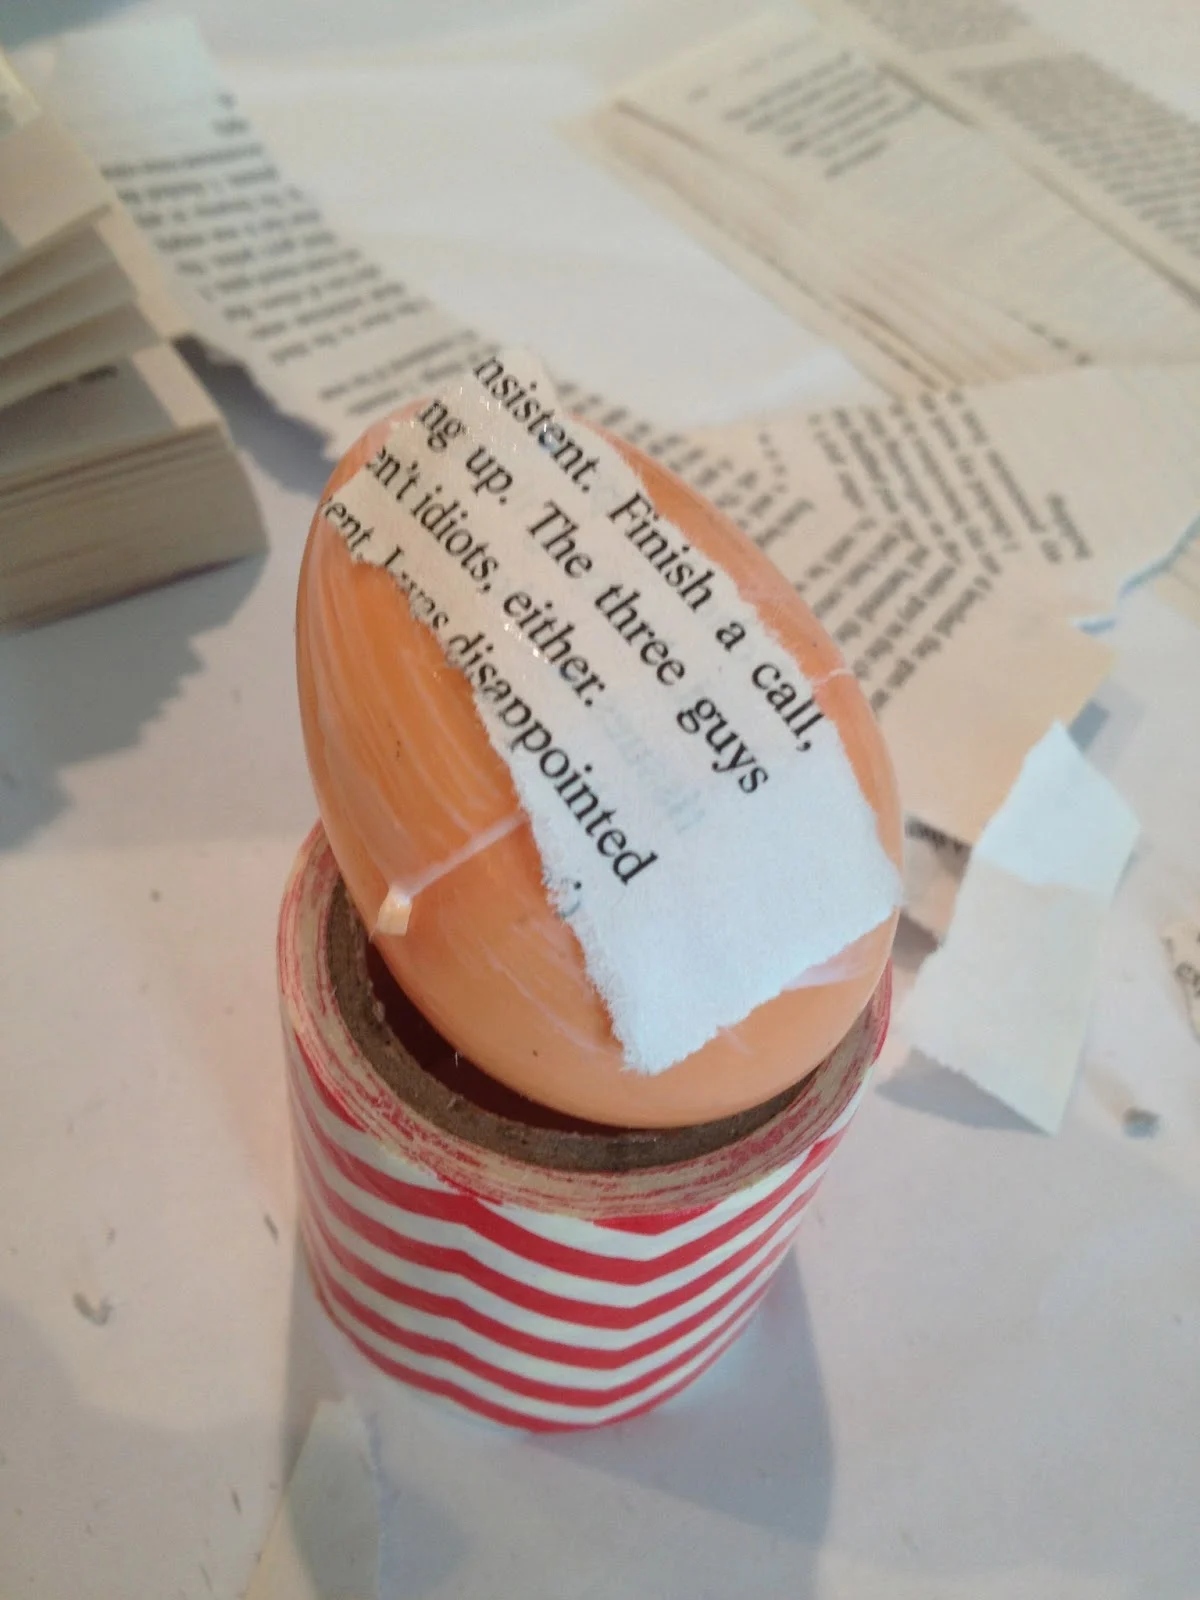
- "Paint" a layer of Mod Podge on top of the paper.
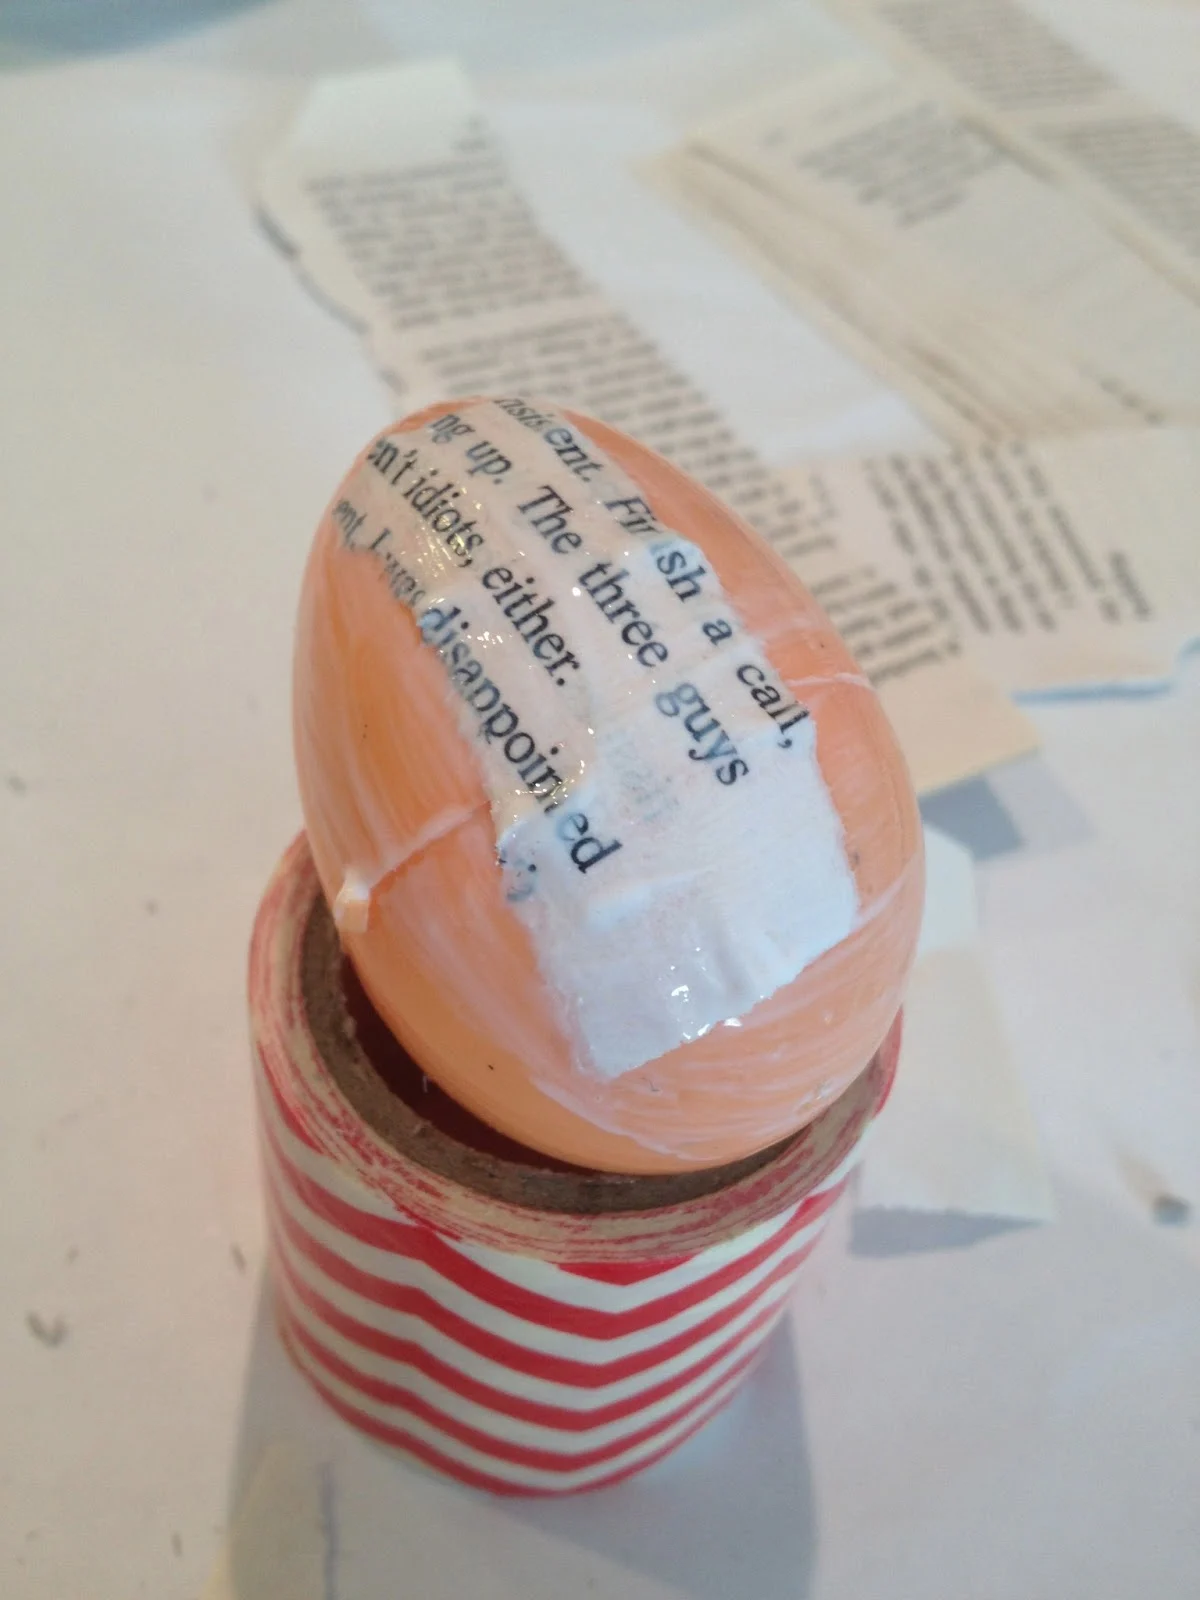
- Continue with more scraps of paper all the way around the egg. Saturate the top of each piece of paper with Mod Podge. Let dry.
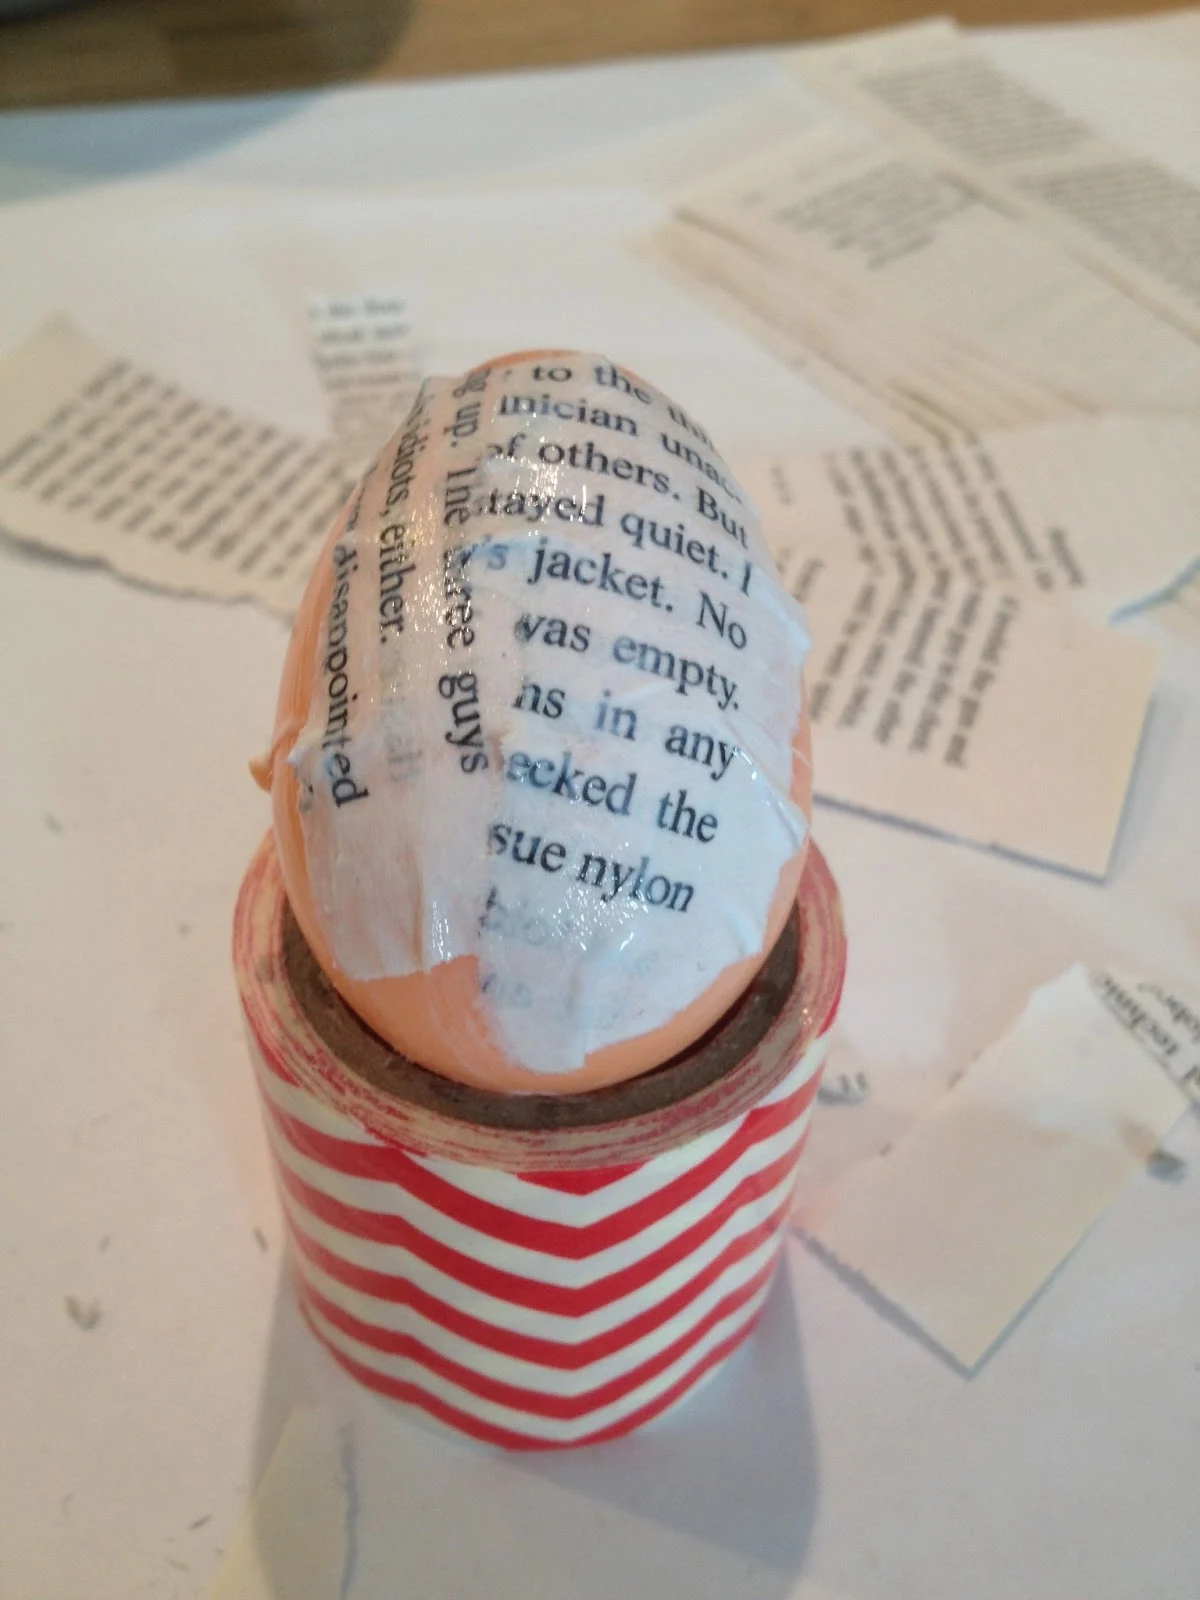
- Add embellishments to the eggs if you desire. I tied embroidery floss around a few and a ribbon around a couple more.
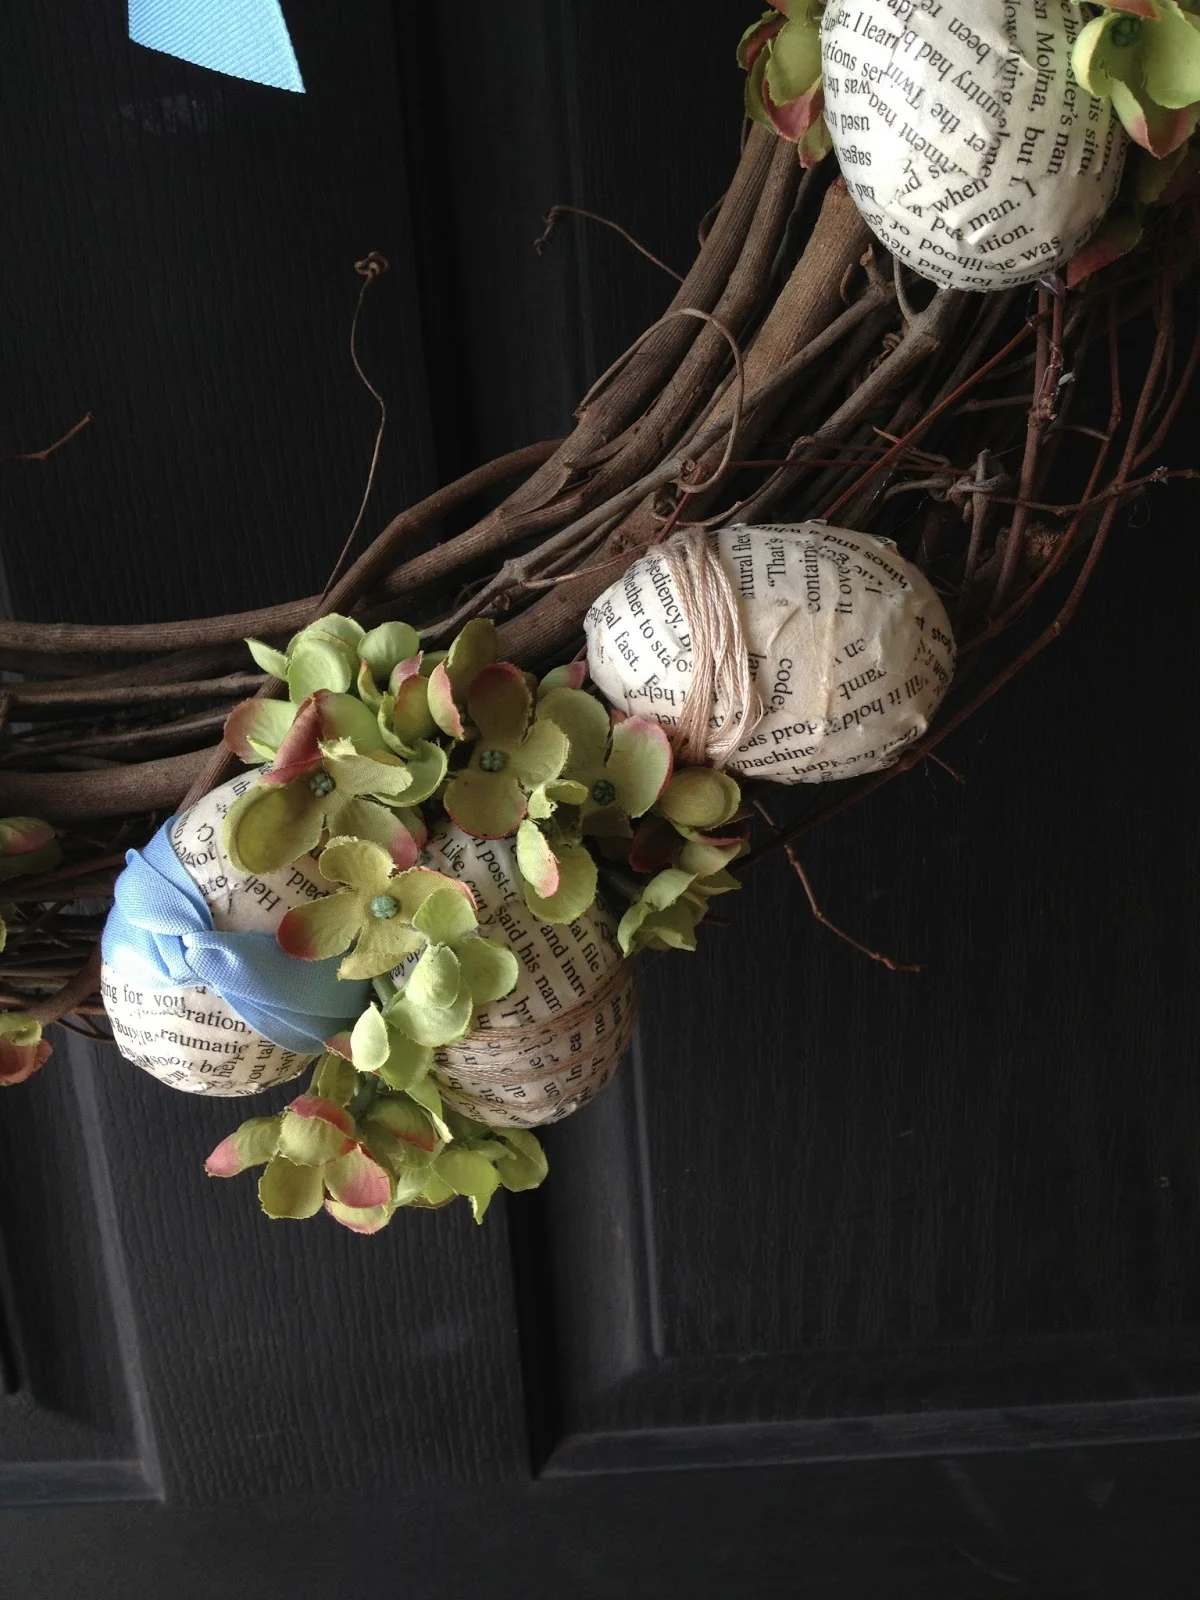
- Assemble the wreath! Using a hot glue gun attach a few eggs and silk flowers in small groupings all over the wreath. Get creative and add as many or as little as you like!
Recommended Products
As an Amazon Associate and member of other affiliate programs, I earn a small commission if you purchase something I recommend. I would never recommend products I don't love and use!
