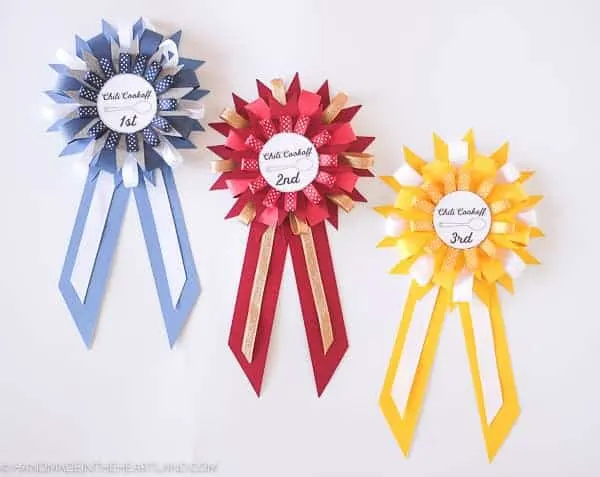
If you’ve ever organized a chili cook off you know that the most looked exciting part of the event is announcing the winners! Whatever prizes you choose to give the chili cook off winners you will definitely want to make these chili cook off prize ribbons to adorn the winning pots of chili.
This post contains affiliate links which means that I make a few pennies should you decide to purchase anything that I recommend. I only recommend products I use and love! This helps keeps recipes and projects free for you!
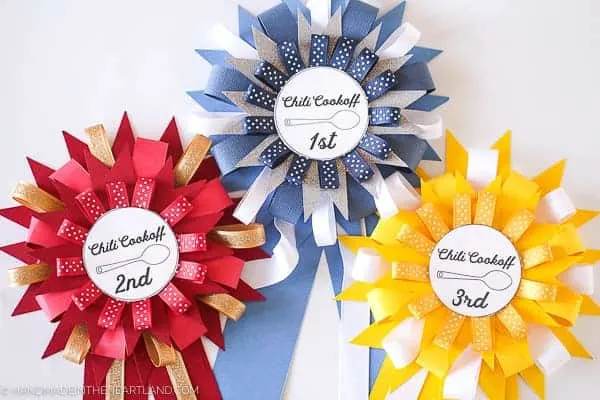
I have planned chili cook off competitions for my church congregation as well as for my son’s elementary school PTA. Both ran very differently, the PTA chili cook off was a fundraiser and the church event was a fellowshipping event. However, one thing is always the same, at the end of the night there is a winner!
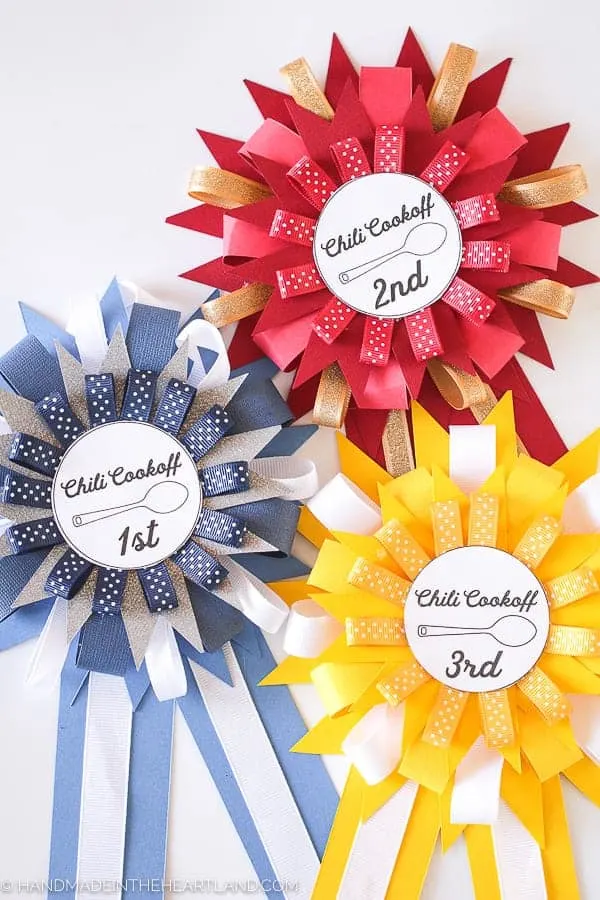
These chili cook off paper prize ribbons are easy to create. You’ll only need a few supplies and it shouldn’t take you more than an hour to make all 3. Lately I’ve been loving paper crafting with and without my Cricut Explore Air. There is something really satisfying about using up my scrapbooking paper stash. This project can be made without any fancy supplies- all you’ll need is paper, ribbon, scissors and a glue gun!
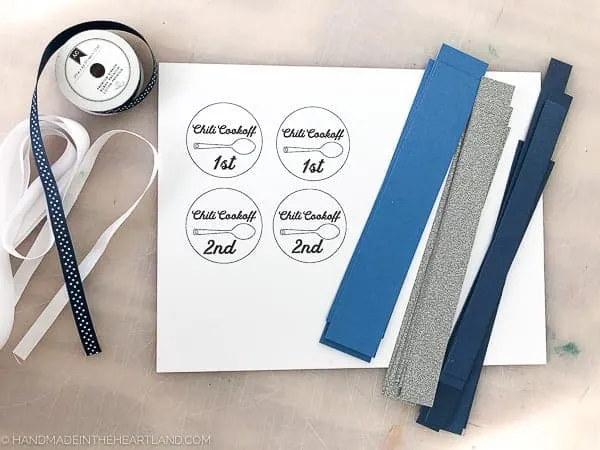
Supplies for Chili Cook Off Prize Ribbons:
-Print the middle of the ribbons by downloading this file: Chili Cookoff Prize Winner Buttons
-Paper slicer/trimmer, not essential but makes the process easier (I use THIS one all the time and have for years. I love it!)
–Hot glue gun
–Scissors
–Scrapbooking card stock: 1 12x 12 sheet of each color-2 shades of each color: Blue, Red & Yellow. For example 1 sheet of dark blue and 1 sheet of light blue. For the winning blue ribbon I used some glitter silver card stock as well.
–3/8″ ribbon, in each color (I used polka dot) and solid white
Instructions for How to Make Chili Cook Off Prize Ribbons
The instructions below show you how to make 1 prize ribbon, repeat to make all three.
Cut all the pieces first:
- Cut out the printed circles for 1st, 2nd and 3rd prize from the file above in the supply list.
- Cut 12 pieces of solid color or polka dot ribbon to 2 1/2 inches.
- Cut 8 pieces of white ribbon to 5 inches long.
- Cut 2 pieces of white ribbon to 7 inches long, cut one end at an angle, this will be the bottom of the ribbon.
- Cut 2 strips of the darker colored card stock the length of the paper by 1″ (I like to use my paper slicer for this). Then cut those strips into 2 1/4″ pieces. You should have 8 rectangles that are 2 1/4″ by 1″.
- Cut 4 strips of the lighter color of card stock to be 3/4″. Then cut those strips into 5″ pieces. You should have 8 rectangles that are 5″ by 3/4″.
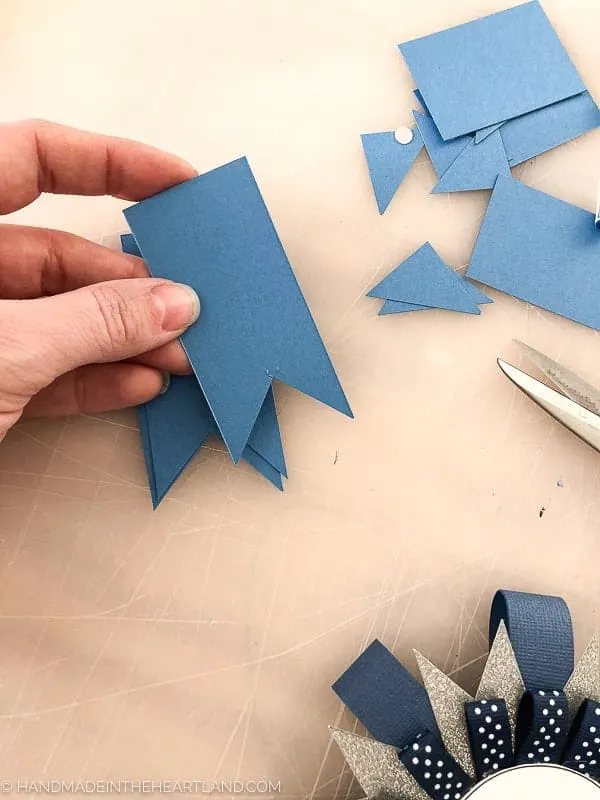
- Go back to the darker color card stock and cut 4 strips that are 1 1/2″ wide. Then cut 8 pieces that are 3″ long. You should have 8 rectangles that are 1 1/2″ by 3″. Next cut the last two strips into pieces that are 8.5″ long, these two longer pieces cut an angle at one end to be the bottom of the ribbon. See photo for example.
- Take the darker colored rectangles (1″x 2 1/4″ and 1 1/2″ by 3″) cut out a triangle on one end. See the photo below. Try to shoot to cut to the center of the rectangle for the point of the triangle
Assembling the Chili Cook Off Prize Ribbons
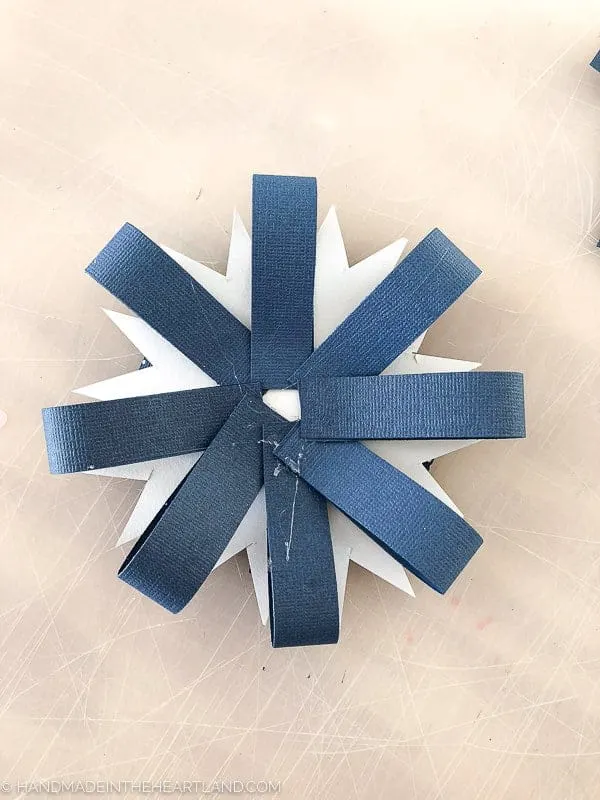
- Start with the first layer and make your way back. The first step is to fold the small colored ribbon pieces that are 2 1/2″ in half and place a dot of hot glue at the bottom of the loop to secure that it stays together in a loop. Then glue the loops to the back of the printed prize circle. If you think of the circle like a clock place the ribbons at every hour. Start with 12, 6, 3, and 9 and then fill in the rest.
- The 2nd layer is made with the rectangle pieces that are 1″ x 2 1/4″ with the triangle cut out of one side. you will glue these to the back of the ribbons and front circle. Again, think about aligning these pieces with a clock. Start by matching up the flat ends of 2 pieces to create a 12 and 6 and glue them. Then on top of those two pieces match up the next two pieces aiming toward 3 and 9. Glue the last 4 pieces in between each of the pieces that are already glued.
- For the 3rd layer you will use your 3/4″ x 5″ strips. Loosely fold them in half to make a loop like the ribbon on the 1st layer. Glue the ends together and then glue to the previous layer. Space these loops in between each of the rectangle pieces. For instance in stead of being at 12:00 the first loop would point to 1:00.
- Next use the solid color ribbon cut to 5″ long. Glue them in half into loops as done previously. Glue them to the prize ribbon at the same positions as the 2nd layer, 12, 3, 6, 9 & in between each of those- they should shoot right out of the center of the triangle when you look at the ribbon from the front.
- The last layer is the 1 1/2″ x 3″ rectangles with triangle cut out ends. These are arranged in the exact position of the previous ribbon layer. 12, 3, 6, 9 & then in between each of those.
- Next glue the 2 thin pieces of ribbon to the 1 1/2″ x 8″ pieces of card stock that are both cut at an angle at one end. This is the bottom of your ribbon.
- Next glue those two pieces together so they create a triangle with the space between them. Then glue them to the back of the top of the prize ribbon.
- If you’d like you can add a loop of ribbon to the back of the entire piece so it’s able to hang on a nail or hook. Or you could hot glue a pin back to make the winner wear it. It’s up to you!
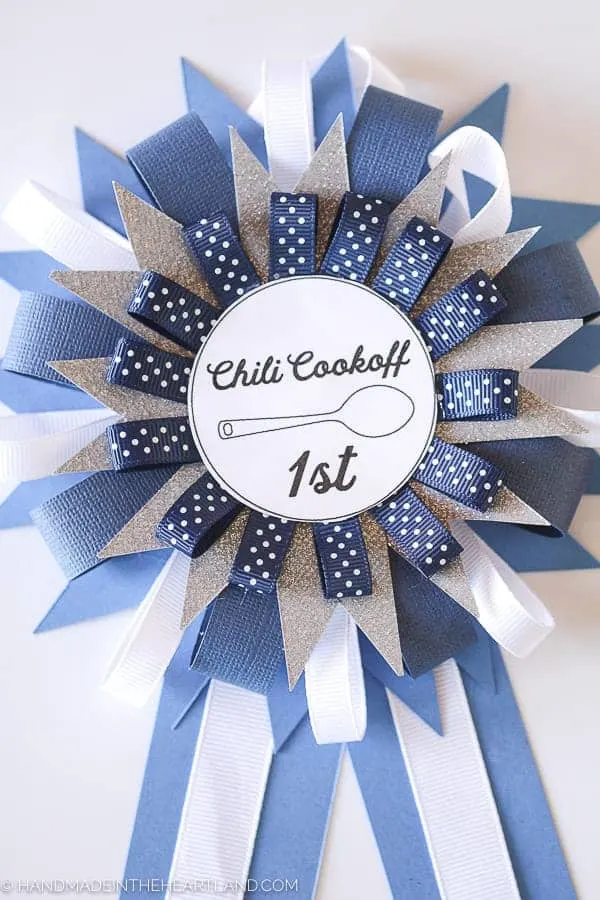
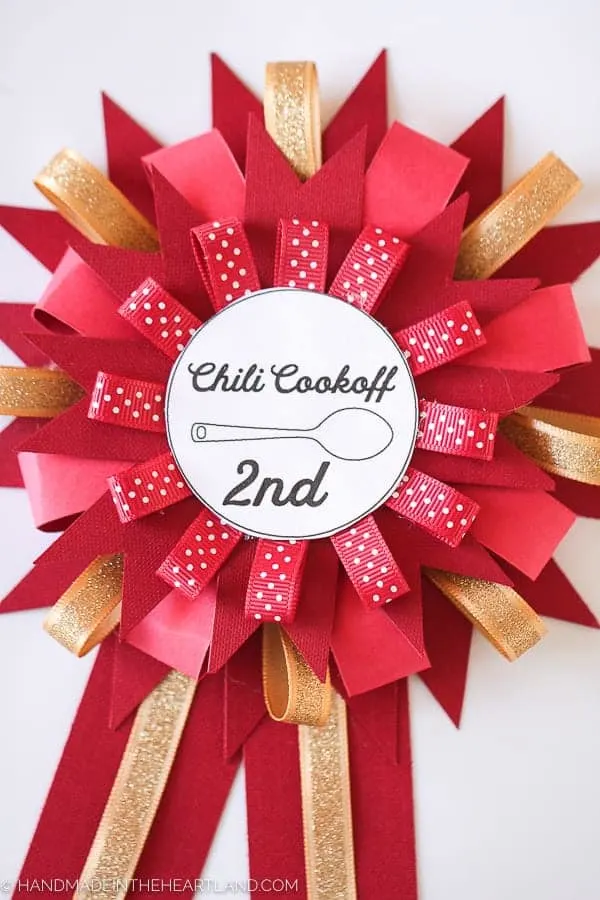
I cannot wait to see your chili cook off prize ribbons!! Tag me on instagram @handmadeintheheartland or facebook and let me see your beautiful creations!
