-1″ Book Ring
-1-2 dozen little items to put inside (I purchased mine in the party favor aisle at party city)
-Camera, printer, laminator
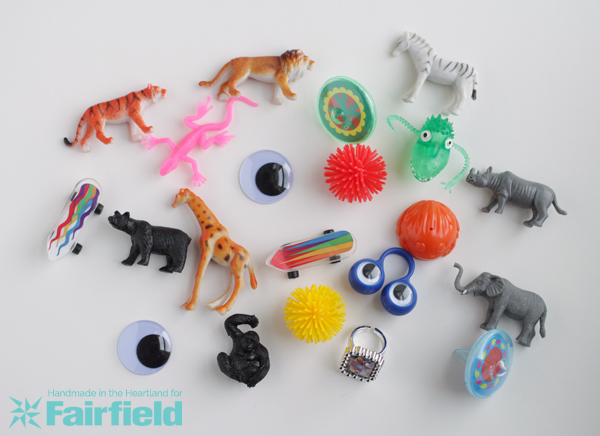
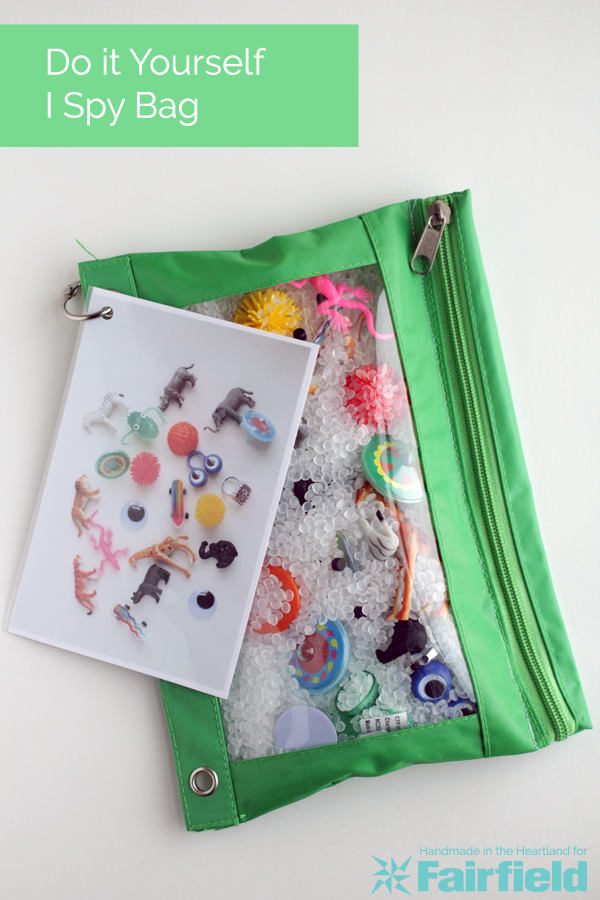
Above is the photo I took of all the small items that were going in the bag. I placed them on a white sheet of poster board and photographed them in the light of a window to get the most clear image. Then I printed out the photo in color on my home printer- I sized it to 4×6. I laminated the photo and then punched a whole and attached it with a book ring into one of the 3 ring binder holes on the pencil case. I did that step (attaching the ring to the pencil case) last, after stitching it closed.
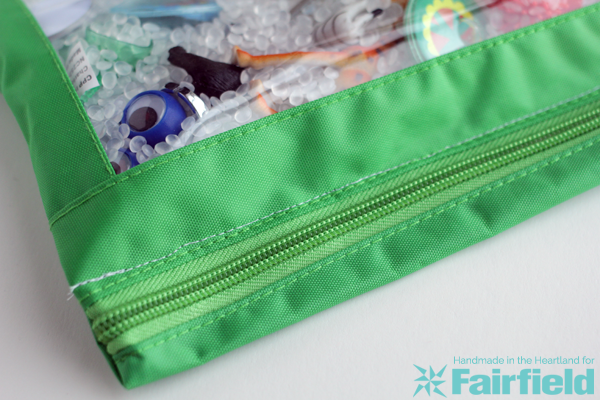
You might have been thinking to yourself “that looks like a huge mess waiting to happen, my three year old will unzip that thing first thing!” and that is exactly why you sew it closed so its not even a remote possibility! So after you’ve photographed your little items, pour them into your pencil case and then fill it with the poly-pellets. Fill it so its about 3/4 full, you want extra room to roll everything back and forth and to find all the items. Zip it closed and take it over to your sewing machine and sew right next to the zipper so that its not able to be opened up.
Clip on your ring with the photo and you are done! How easy was that? Like I said our gets quite a bit of use in our Sunday bag. My daughter especially likes it, she loves to point to the little items in the picture and then gets very excited when she finally spots it in the bag. My son has not been as thrilled with it, but has still played with it for a minute or two every Sunday. We have another one that has some disney items in it- pencil erasers with characters on them and those are by far my daughters favorite things to find, so if your child likes certain things try to put those in the bag.


Marilyn
Sunday 2nd of October 2022
I was trying to think of a way to make it so that I could use it over again. You could use rice or beans instead of fiberfill. Then tape the zipper (just the zipper head) with fun Duck Tape.
25 Fabulous Homemade Gifts - The Inspiration Board
Saturday 4th of December 2021
[…] DIY I Spy Bag via Handmade in the Heartland […]
30+ Awesome Road Trip Activities & Hacks for Kids - HAPPY TODDLER PLAYTIME
Wednesday 12th of May 2021
[…] DIY I Spy Bag – Handmade in the Heartland […]