This step by step video and photo tutorial teaches you to how to make a paper peony Mother’s Day lip balm gift. This post is sponsored by Cricut, all opinions are always my own! Thanks for supporting the brands that support Handmade in the Heartland. This post contains affiliate links.
For my senior thesis in college, I majored in fashion design, I made a collection of wedding gowns. This was 2008, long before I knew anything about Cricut. One of the dresses I made was a short little number covered in silk flowers. Hand. Cut. Flowers. Each flower had layers on layers and I probably spent over 100 hours that semester cutting flowers. OH, how I wish I had known about the miracle machine that is the Cricut Explore! Not that it was around back then, but if I had a time machine… ????
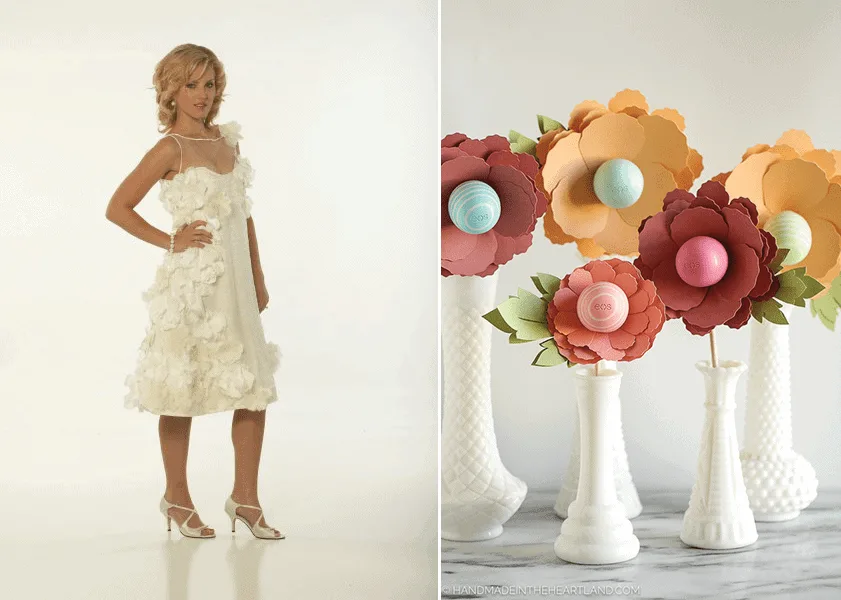
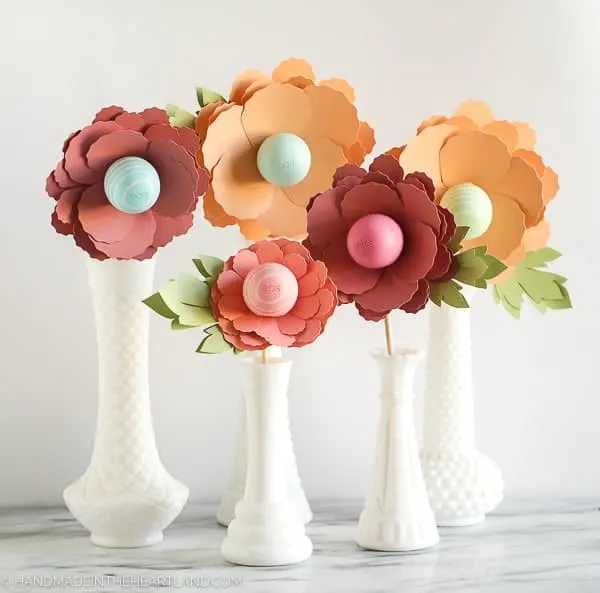
The moral of that story is that I’ve always loved cut flowers, and when I think about Mother’s day flowers always come to mind. I decided to make 3d paper flowers with my Cricut and I’m obsessed with the results! To see just how easy it is to make these flowers watch the video below!
Supplies For Paper Peonies:
1. Cricut Explore
2. Sorbet Pack Card Stock
3. Cricut Scraper & Spatula
4. Hot Glue Gun & Glue
5. Glue Dots Advanced Strength
6. EOS Lip Balm
7. Wood Dowels
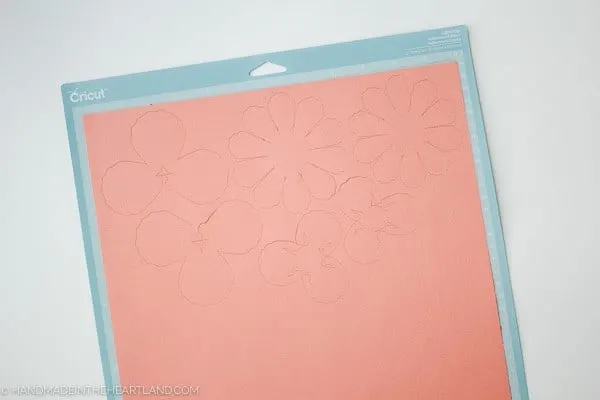
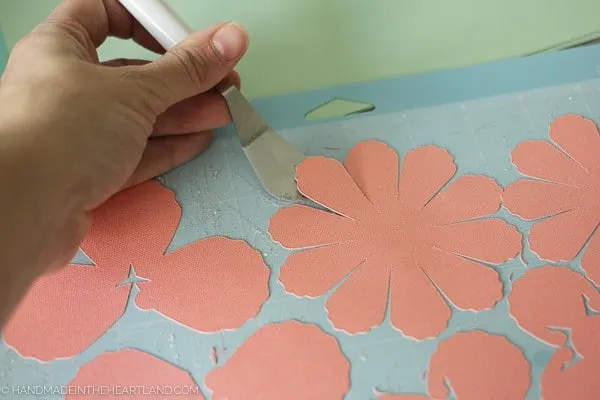 Step 1: Cut out the Peony flower petal & leaf pieces using your Cricut Explore. See the video above for how to eliminate certain pieces in design space to only cut the larger petals.
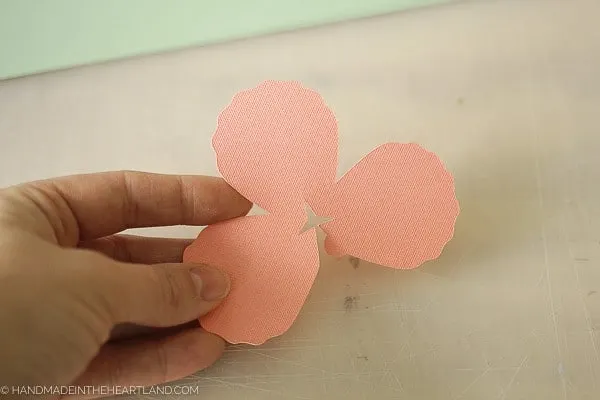
Step 2: Make the shapes 3d by using a dab of hot glue on the half circle area to connect. Fold over the back (see photos) and hold it down until the glue dot is dried. For the pieces that have 10 petal shapes just slightly fold each petal upward to create depth to the shape.
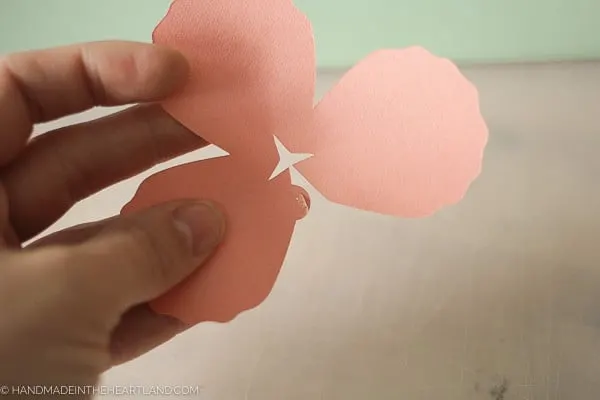
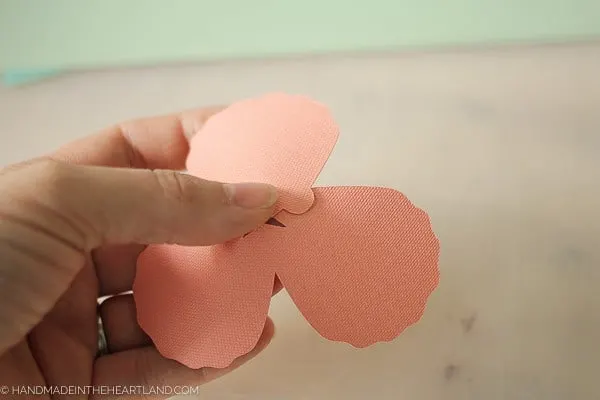
Step 3: Glue each petal piece together layered on top of each other. The larger 10 petal shape is the bottom layer, then the next 10 petal piece. Notice that those two similar shapes are different sizes, so put the smaller one on top. Then glue the 3 petal shapes so that the petals are staggered between each other.
Step 4: Make the leaf using the same technique as the petal above. Place a dot of glue on the half circle and then fold it over the opposite side and hold until dry. 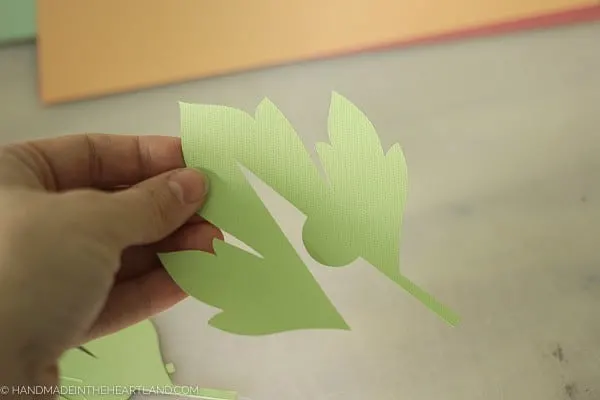
Step 5: Glue the 2 leaf pieces together, the flat piece on the bottom, the 3d shape on top.
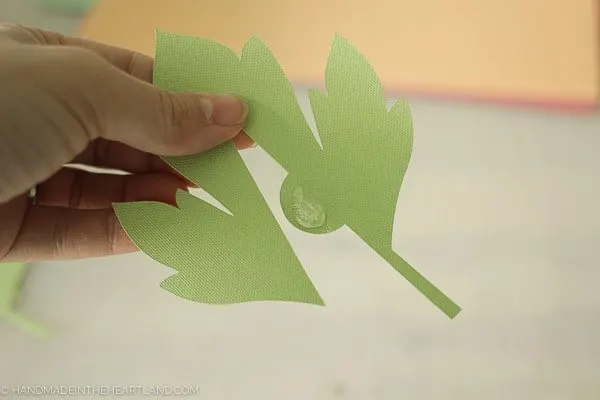
Step 6: Glue the leaf to the back of the flower. Glue a wood dowel to the back of the flower in the center. 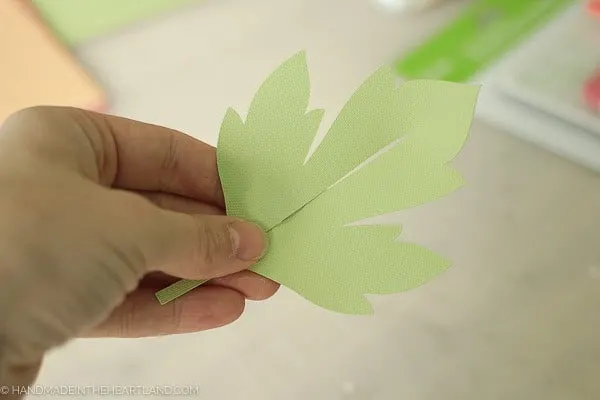
Step 7: Attach your EOS circle lip balm to the center of the flower using advanced strength glue dots. I used 4 dots per lip balm. 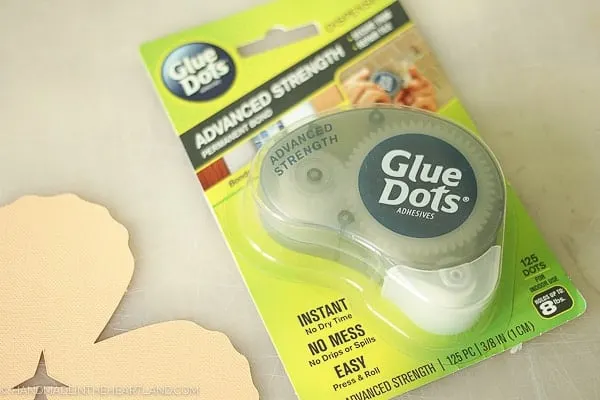
Click over to grab the free printable for Mother’s day to finish off the gift! 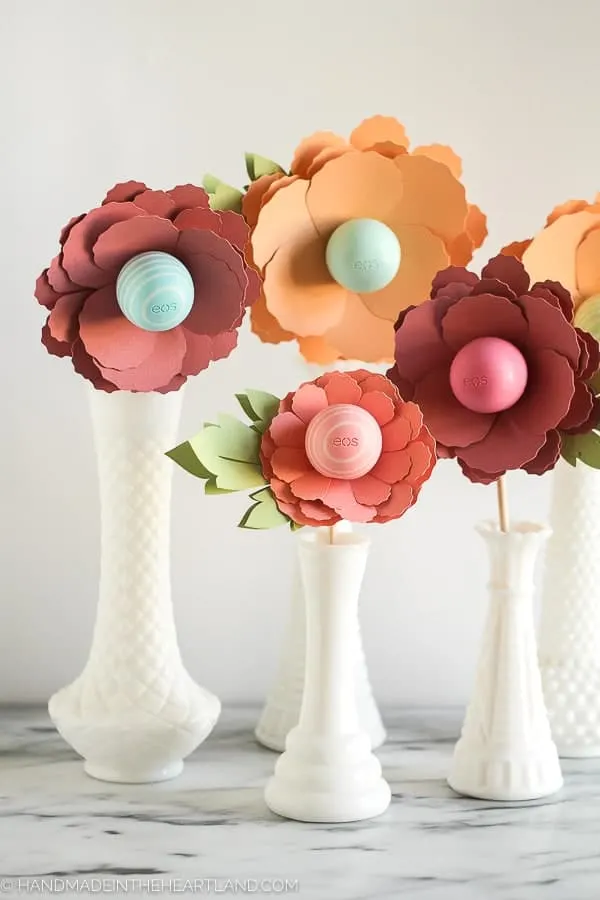
Voila! You are finished with this super duper cute paper flower! I’m totally in love with them! 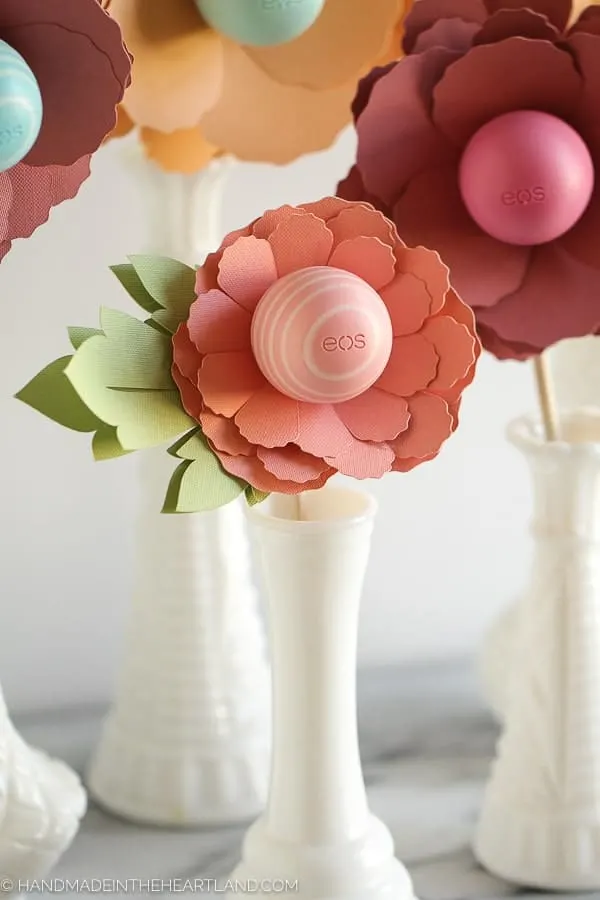
As I was taking pictures of these paper peonies I was thinking about how much I love to create things with my Cricut Explore because everything turns out SO professional looking. It definitely takes crafting to the next level and eliminates so many craft fails. I mean did you see my gold foil letter tee, or DIY letter board? YOU GUYS, I’m obsessed! ???? 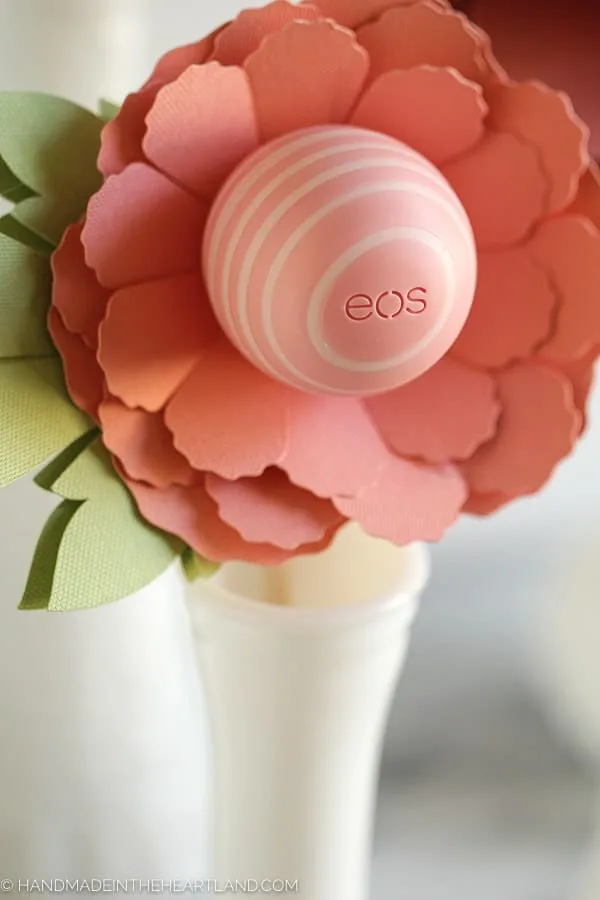
Also can we talk about the potential for these flowers?! I’m thinking a paper flower wreath would be gorgeous!! Stay tuned I may or may not be whipping one of those out soon. ???? 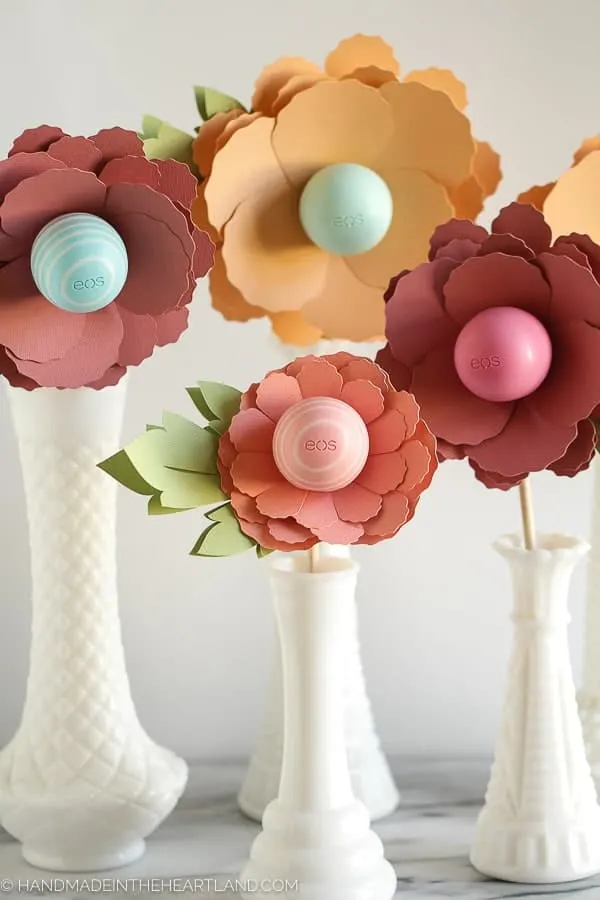
If you make these fun paper flowers please let me know! It thrills me to hear from you and see what you’ve made! Leave a comment or tag me on Instagram (@handmadeintheheartland) or facebook! 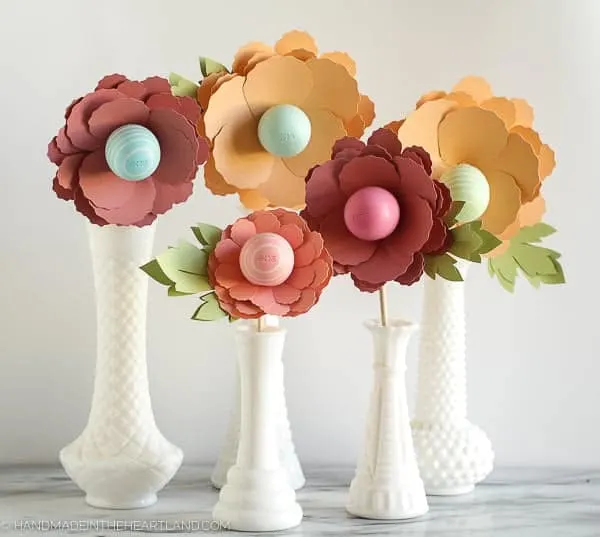
If you’ve been holding out purchasing a Cricut Explore don’t wait any longer! Like I’ve said I’m 100% in love with mine and I promise you will be too! I’m going to keep putting up fun tutorials and giving you lots of inspiration of the limitless crafting possibilities, so get yourself a machine and craft along!
Need to save this project for later? Pin the Image below! 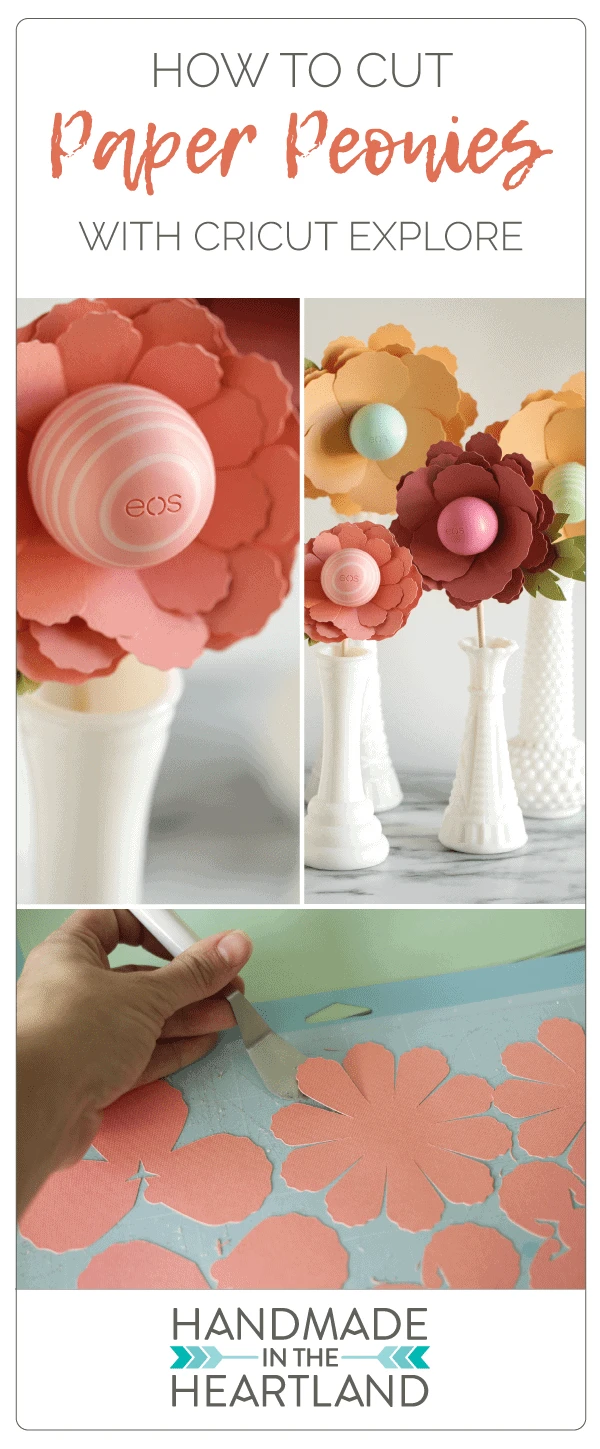

11 Pretty Peony Projects – Home and Garden
Tuesday 26th of April 2022
[…] The Happy Housie Stenciled Peony Tote Bag by Doodlecraft Blog Gumpaste Peonies by Ashlee Marie Cut Paper Peonies by Handmade in the Heartland Giant Paper Peony Flowers by Doodlecraft Blog 10 Minute Peony Wreath […]
DIY Succulent Spring Wreath | Handmade in the Heartland
Monday 15th of February 2021
[…] Hey crafty lady, since you’re loving this spring succulent wreath you’ll definitely want to check out these other fun craft projects: DIY Ceramic Tile Coasters with Vinyl Lettering, How to Make Polymer Clay Earrings, and How to Cut Paper Peony’s with Cricut. […]
Brooke
Wednesday 30th of December 2020
Hello! I cannot get the SVG to load for the flowers. Any tips. :)
Angela Muir
Wednesday 30th of December 2020
Hey Brooke, If you watch the video for this post I show you how to do this project in design space. I actually used a Cricut image in the Cricut Image gallery so I'm not sure what SVG you are trying to upload.