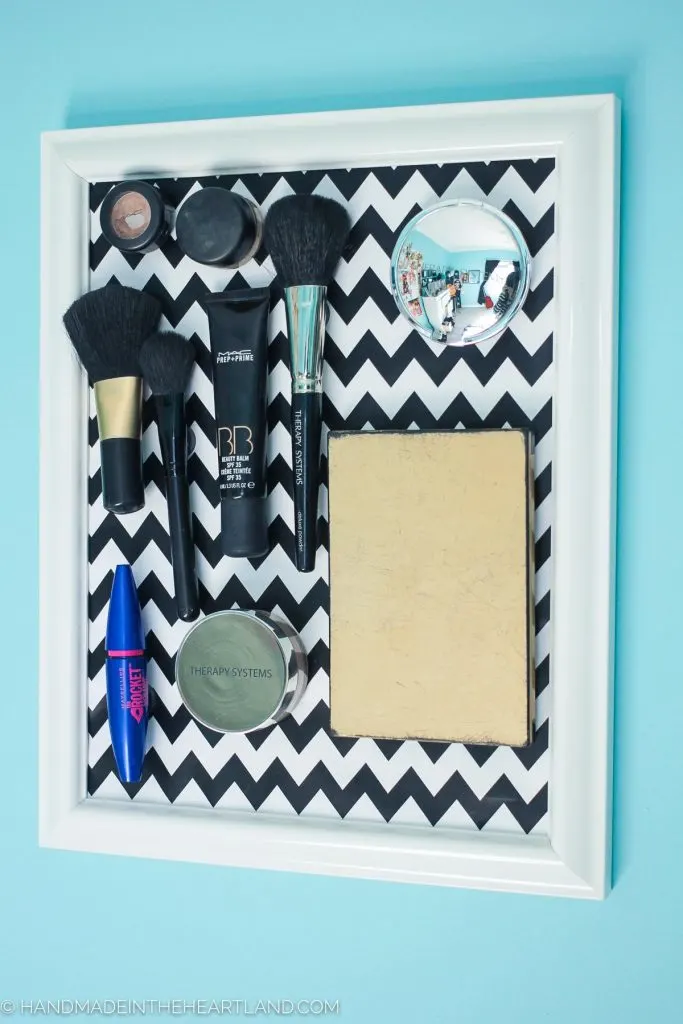
This easy DIY magnetic makeup board is a quick project perfect to keep your makeup organized and visible! This post has step by step instructions to show you how to make one.
This post contains affiliate links which means I make a small commission if you purchase something I recommend.
Supplies:
I love my makeup board because it keeps everything in view and frees up my very limited bathroom drawer space. It’s a pretty simple project and you can get everything you need at hobby lobby (thats where we shopped).
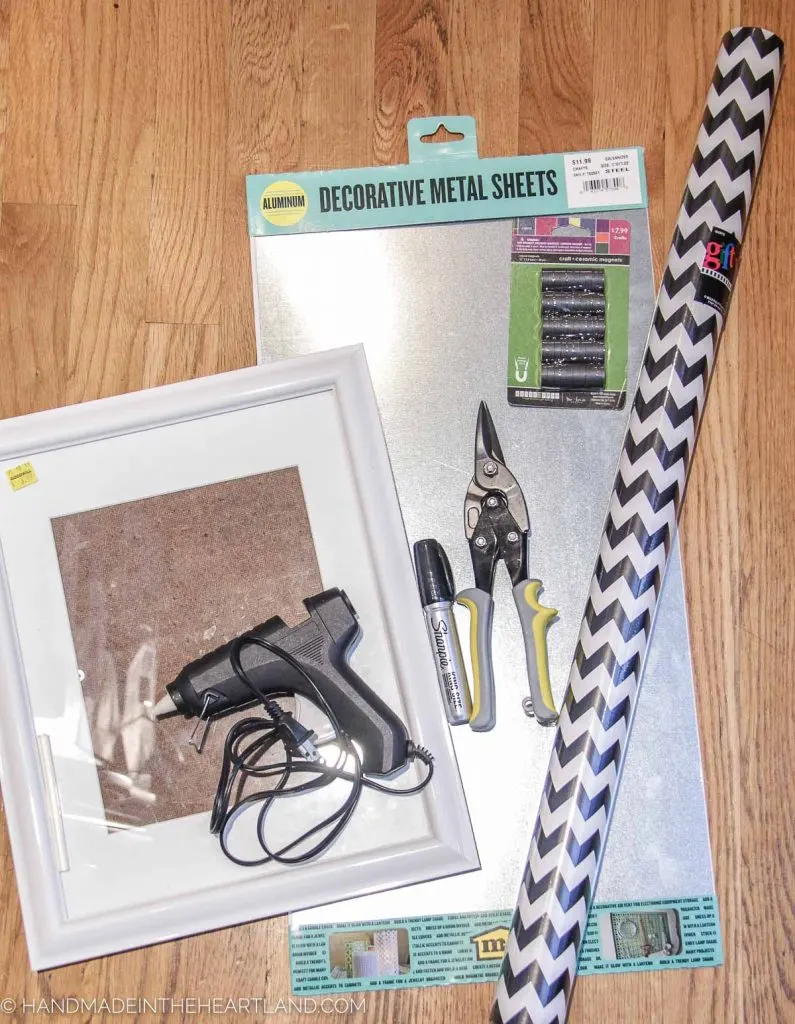
- Picture Frame– You can use any size picture frame you want. We used an 11×14. Just make sure you can get metal the size of the frame you choose. This project is great to use an old frame that you aren’t using anymore. Don’t we all have a few of those lingering around our house?!
- Hot Glue Gun– A trusty hot glue gun will help you adhere the magnets onto your different makeup items.
- Thin Metal Sheet– I purchased my metal sheet at Hobby Lobby, you can also purchase at Home Depot just make sure it’s galvanized steel. Aluminum is not magnetic.
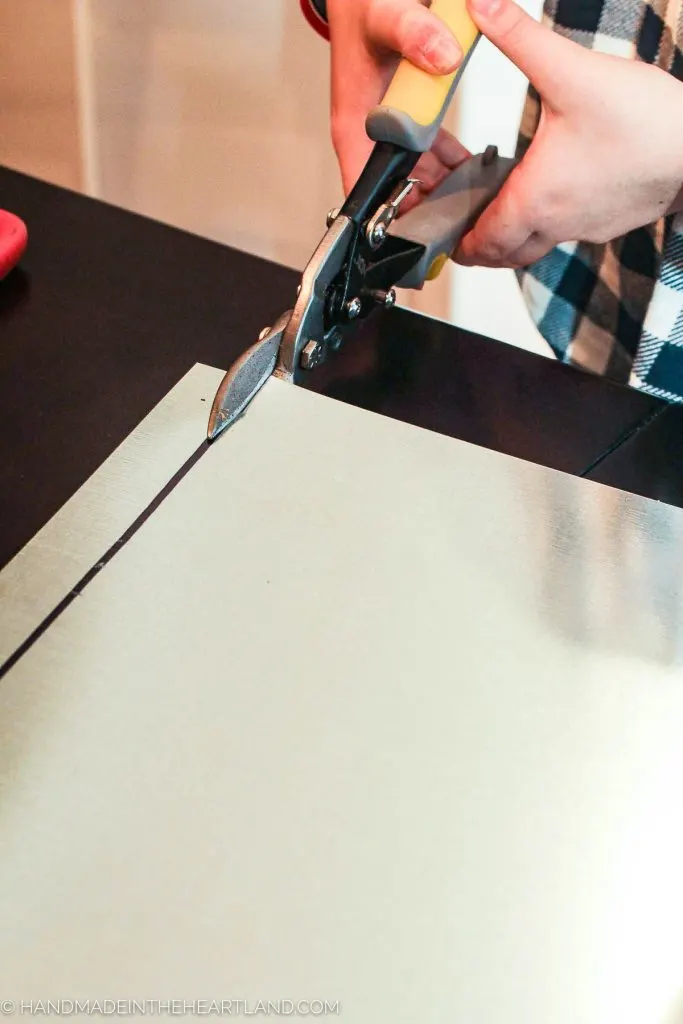
- Tin Snips– You’ll need tin snips to cut the metal sheet to the size of the picture frame. Don’t try cutting it with anything else, take it from me and just get some tin snips. 😉
- Magnets– Craft magnets work fine. They come in large quantities for a reasonable price. You don’t want super heavy duty magnets because after hot gluing the magnet onto your makeup containers if the magnetic takes too much force to remove from the board it can pull the hot glue and remove the magnet from the makeup container.
- Decorative Paper– You could leave the background just plain metal, but why do that when you can jazz it up and make it match the decor of your room or bathroom?! I used wrapping paper, you can use any paper you like however I do think thicker paper could create a barrier that the magnets might not stick as well with. To be safe choose a thinner paper.
- Double Sided Tape or Spray Adhesive– To attach the paper to the metal you’ll need some type of adhesive. I used double stick tape so it can be removed and changed out every now and then. If you want a more permanent solution you could use spray adhesive to attach the paper to the metal.
Uses for magnetic boards
Magnetic boards are so useful! Here are some other ideas for magnetic boards:
- Toddler Magnetic Toddler Positive Reinforcement Chart
- An entry way bulletin board/ command center for important papers
- A toddler play area with alphabet letter magnets
- Teaching aid to help display learning materials
- Jewelry organizer with magnetic hooks for necklaces and bracelets
- Display for kids art work
- Spice jars displayed on the inside of a cabinet or in the pantry.
- If you’re looking for fun magnet ideas be sure to check out my post on DIY locker frame magnets for fun custom magnets!
Frequently Asked Questions
What are magnetic boards made of?
To have a board that magnets will stick to it needs to be made of metal with iron as a main component of the metal. For instance aluminum and copper are not magnetic whereas most galvanized steel is magnetic. Nickel, Iron & Cobalt are magnetic metals. If you’re looking online for sheet metal for this project look for galvanized steel.
What can I use for a magnetic board?
Here are a few ideas for alternatives to using a frame and metal sheet for this project. Some other items that are magnetic that could be used as a magnetic board are:
- You could use Magnetic Paint and paint it onto any surface to create a magnetic board!
- Some baking sheet pans or baking trays are magnetic! Just check before you start your project to make sure a magnet sticks.
- Decorative metal serving trays can make a cool magnetic board display like this one from whipperberry: Repurposed Magnet Board
- Automotive oil drip pans are very large and most are magnetic! Check your auto parts store for one.
Can you paint over a magnetic board?
Yes! If you don’t want to tape or glue down decorative paper you could paint the galvanized steel board. It will not affect the magnetic properties of the galvanized steel sheet. However, anytime I’ve painted metal its easily flaked or chipped off. You might need to do some more research for how to paint metal.
How to make a magnetic makeup board
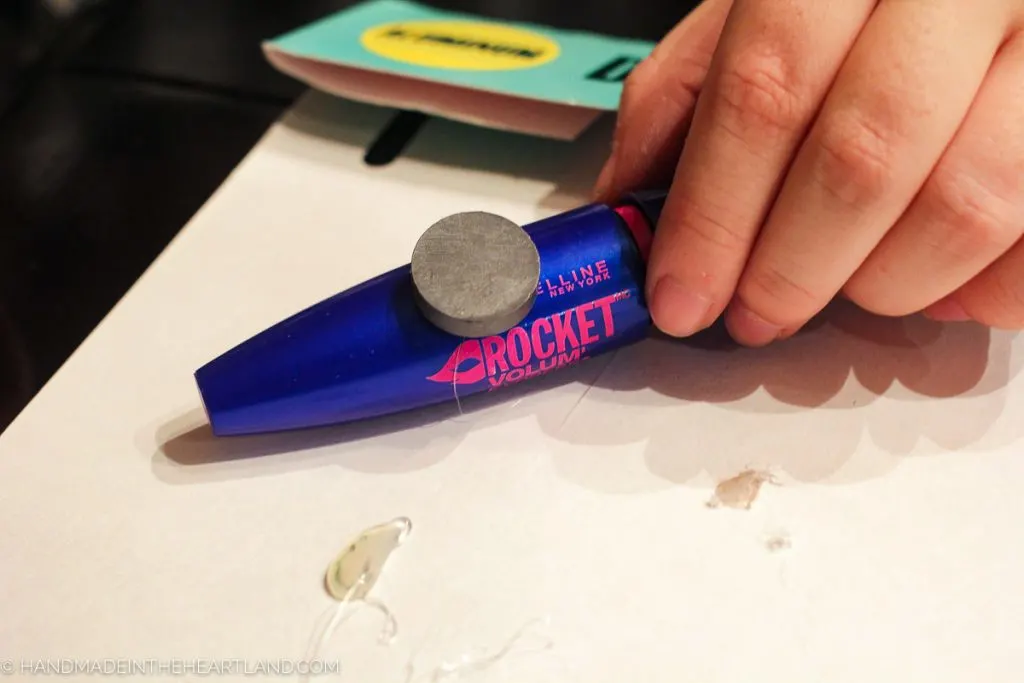
This project is pretty simple, there are two main steps. Make the Frame & attach magnets to all the makeup items.
TIP: When you are making the frame be sure to use tin snips to cut the metal, you’ll have a hard time trying to use anything else.
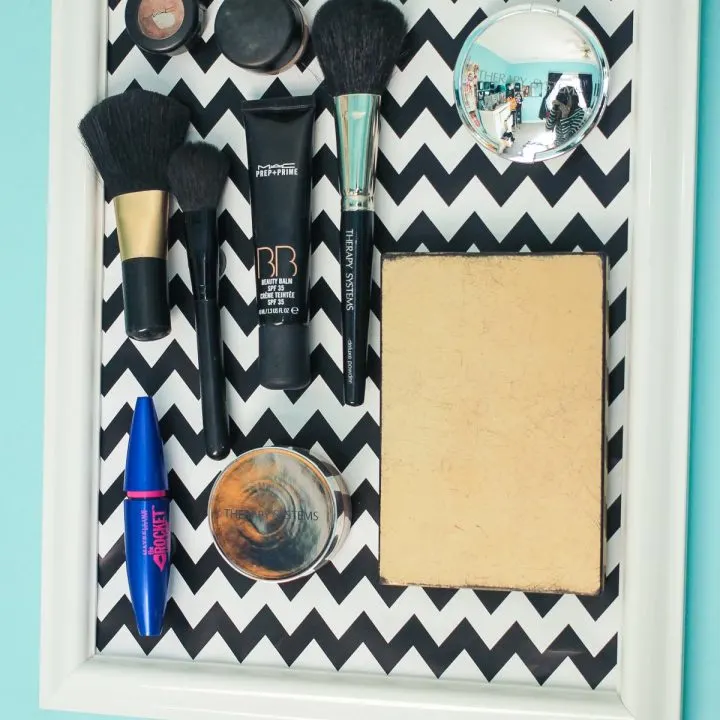
DIY Magnetic Makeup Board
This easy DIY magnetic makeup board is a quick project perfect to keep your makeup organized and visible!
Materials
- Picture Frame
- Thin Metal Sheet
- Magnets
- Decorative Paper (I used wrapping paper)
- Double Sided Tape or Spray Adhesive
Tools
Instructions
- First remove the glass and back from a picture frame.
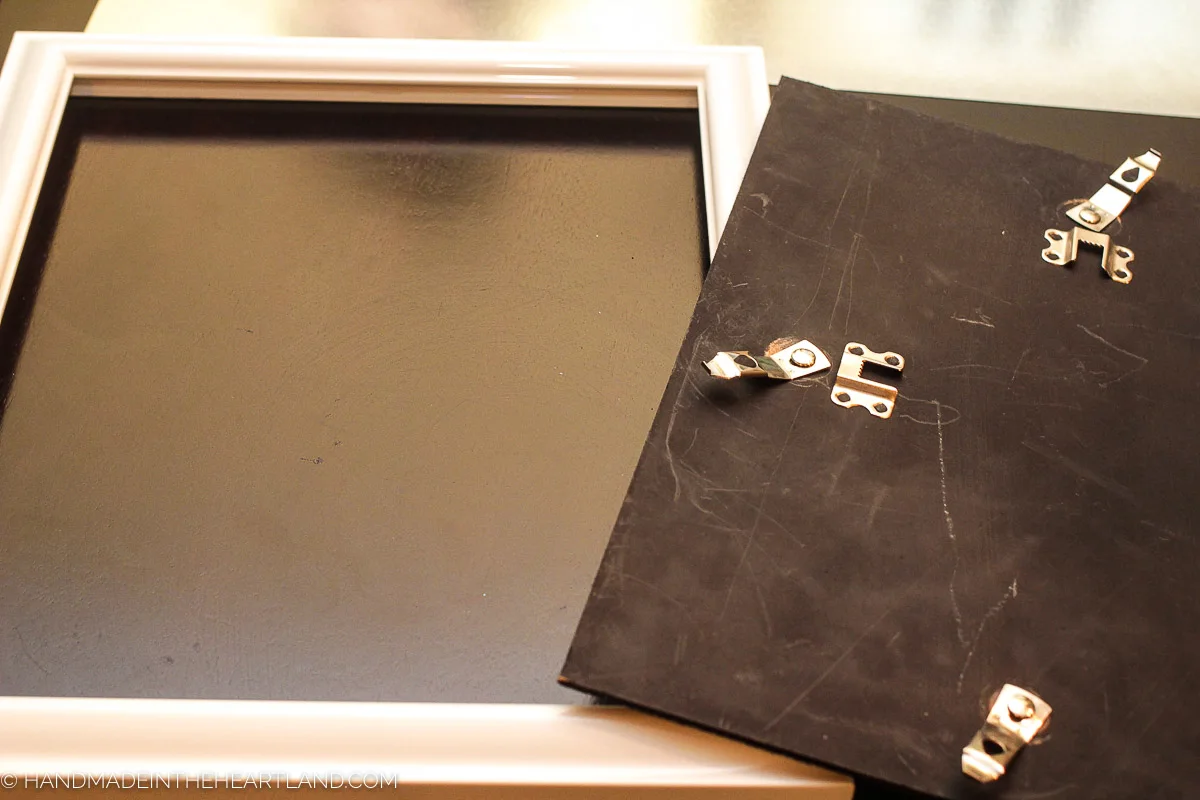
- Measure the back of the frame and then mark your metal sheet with a sharpie to the same measurements so it will fit in to your frame.
- Using tin snips cut the metal to size.
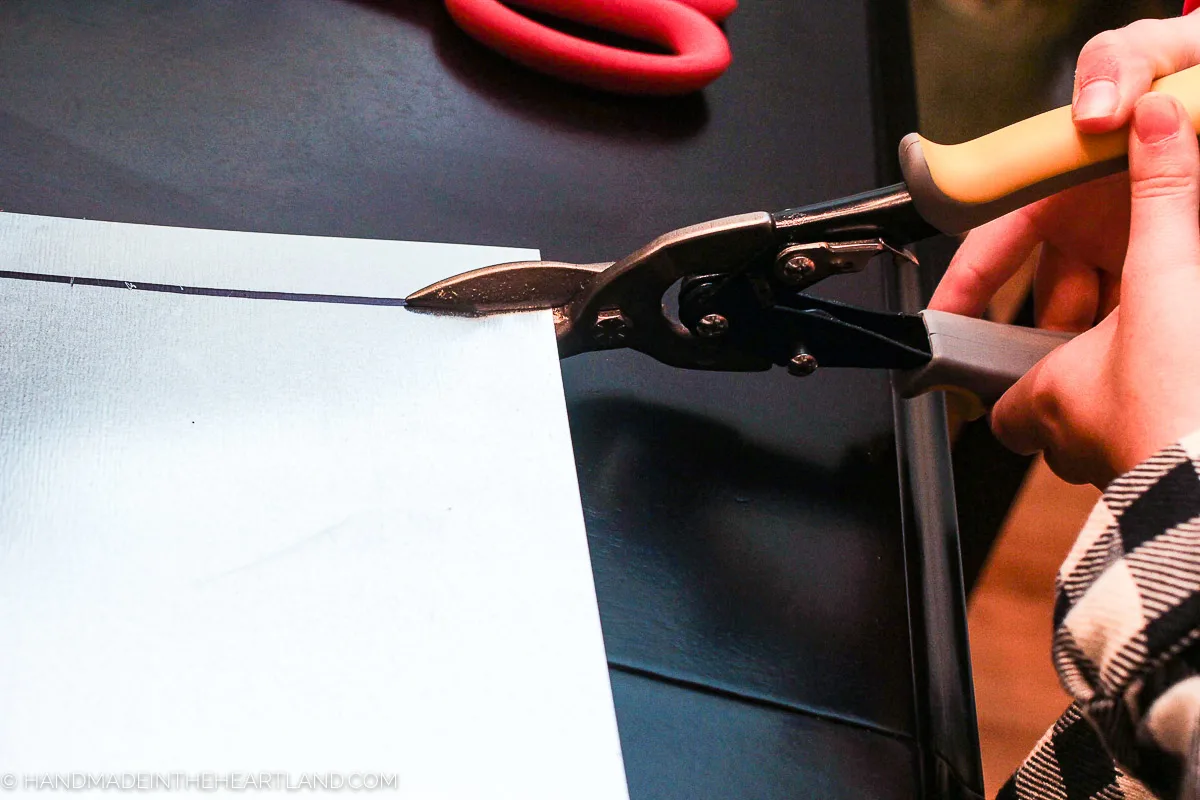
- Measure the decorative paper to the same size as the metal and cut.
- Use double stick tape or spray adhesive to attach the paper to the metal. Then put the metal in the frame and place the back on. The Frame is done!
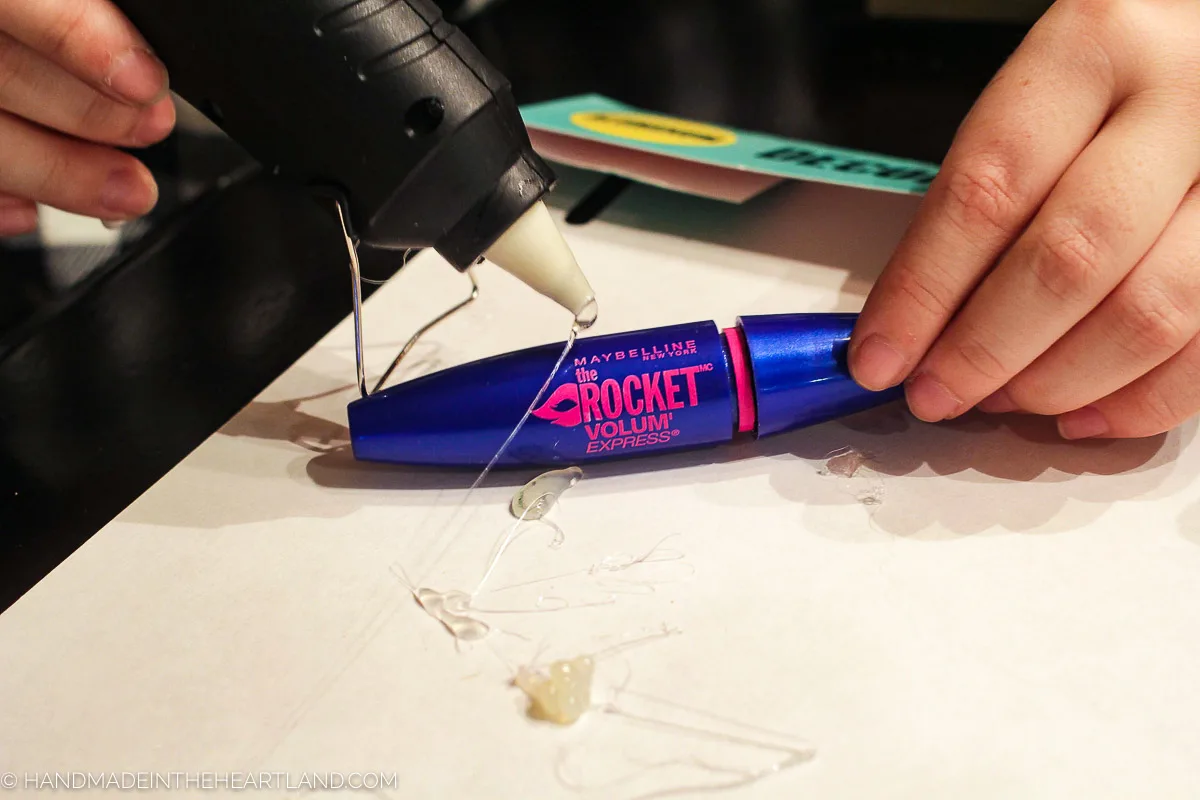
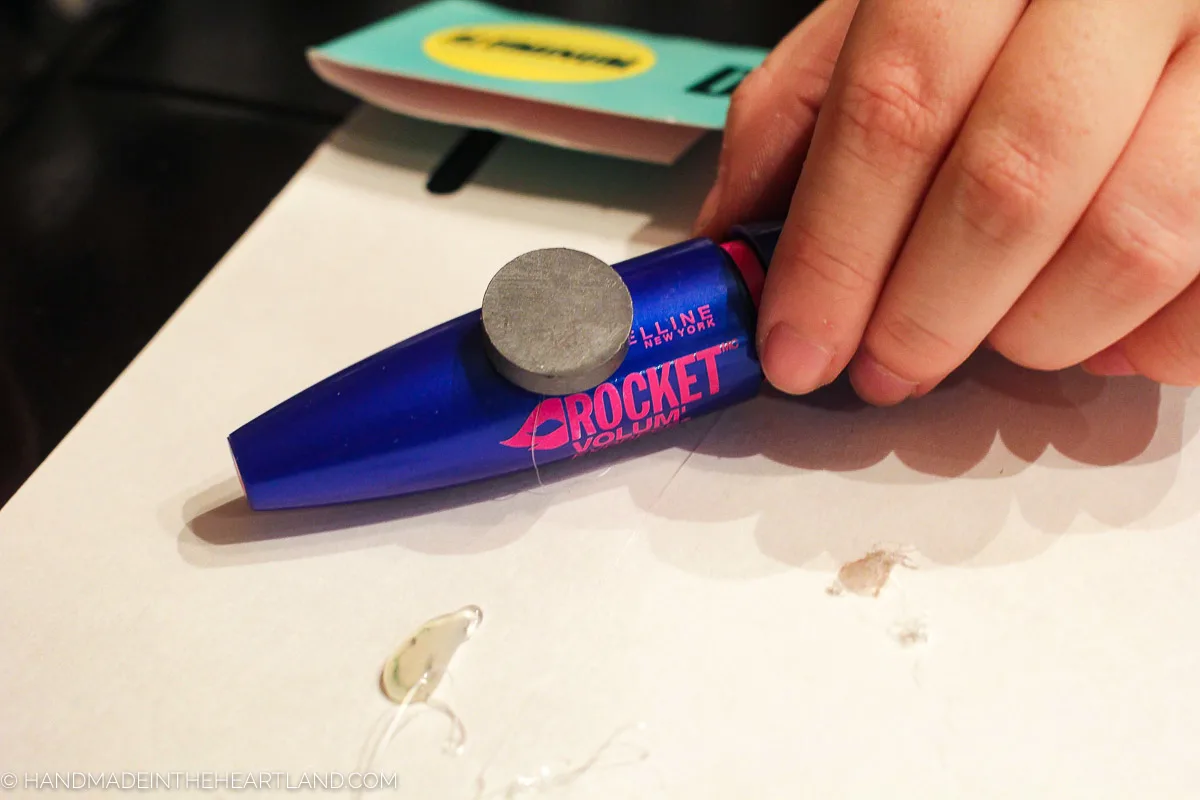
- Now using hot glue attach the magnets to your makeup. The hot glue does much better if the surface is clean, so use a wet wipe or Clorox wipe to clean the area where the magnets will be glued.
Recommended Products
As an Amazon Associate and member of other affiliate programs, I earn a small commission if you purchase something I recommend. I would never recommend products I don't love and use!
-
 X-bet MAGNET Craft Magnets - 18 mm (.709 inch) Round Disc Ceramic Magnets - Flat Circle Magnets for Crafts, Science & DIY - Ferrite Small Magnets Perfect for Refrigerator, Whiteboard, Fridge - 30 PCs
 -
 Crescent Wiss 9-3/4" MetalMaster Compound Action Snips - Straight, Left and Right Cut - M3R
 -
 Golden State Art, 12x12 Square Wood Picture Frame, Matted to Fit Pictures 8x8 or 12x12 Without Mat (Black)
When you make your magnetic makeup board make sure and let me know! I love to see when you make projects from the blog! Leave a comment or tag me on instagram @handmadeintheheartland or facebook !
