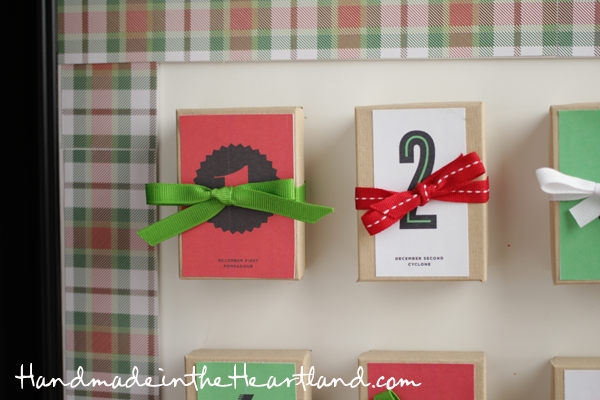
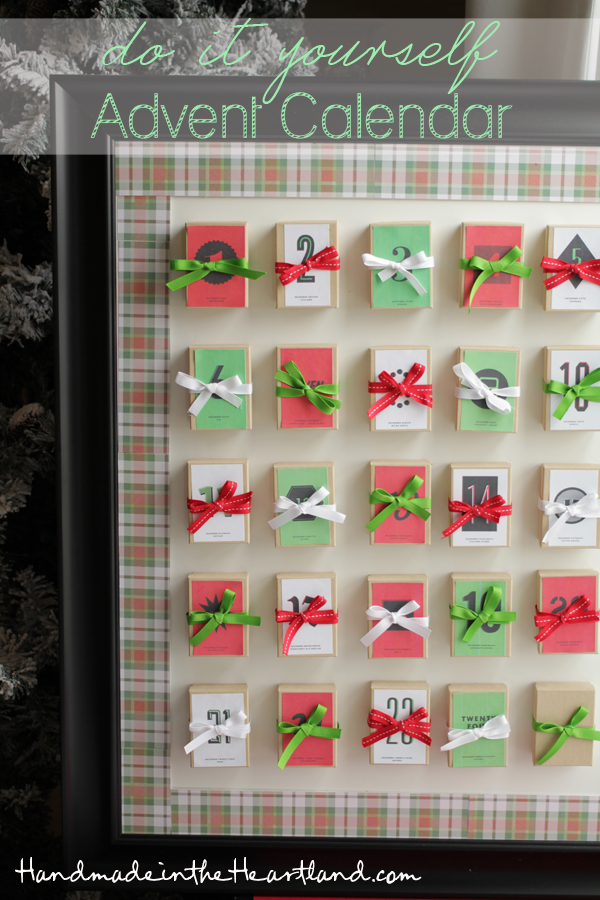
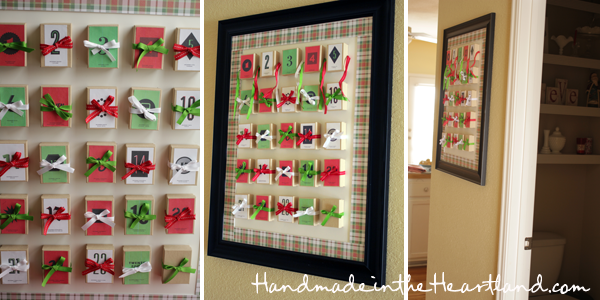
So i know its a little late for an advent calendar but even if you are coming late to the game its something you’ll use year after year so don’t get too down on yourself. (or at least that’s what i told myself when i was making it on the 4th). There are sooo many cute advent calendars out there and so i decided to not completely re-invent the wheel, in 2011 on oh happy day she did a iron-on advent calendar printable that was a free download so i used that file and then altered it a bit. You can download my files HERE, HERE, & HERE, i changed the colors a bit to make them deeper green & red and made them smaller to fit on my boxes.
DIY Advent Calendar
Supplies:
piece of foam core
25 3″x2″ jewelry boxes (I ordered these little kraft paper jewelry boxes)
glue stick
hot glue gun
red, green & white thin grosgrain ribbon- i cut them in 17″ pieces.
little surprises to fill the boxes 🙂
frame, mat and scrapbook paper if wanted
1. After you print and cut your numbers attach them to the tops of the boxes with a glue stick. Then heat up your hot glue gun & glue the ribbon to the back of each box. i glued the center of the ribbon to the center of the back of the box.
2. Measure out where you want your boxes to be on the foam core, and then hot glue your boxes to it. Fill the boxes and then tie them closed.
3. i bought a poster frame at walmart that came with a white mat, i didn’t like the white mat with the white foam core so i glue sticked some christmas scrapbooking paper to the mat and then popped it back in the frame along with the foam core and back of the frame, and viola- donezo!
Max is loving opening a new box everyday and has already figured out one of his favorite things lies inside- candy. 🙂 Maybe next year i’ll mix it up and find cute little toys to include.


